Construction of new FV - June/July 2008
[Bullet on track in 2011]
Click on pix for blowups
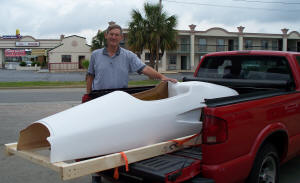
This is Allen Adderley - he started this whole mess
by contacting me and suggesting that I build a new
car and use his bodywork. Since BODYWORK had
been the main prohibition to construction of a new
car design for me, I started giving it some thought.
I had forgotten just how HARD it is to build a new car
since the last one I did was almost 20 years ago (the
bad memories fade quickly <g>), so I stupidly decided
to go ahead with the project. Only later did I realize
just how much of the old (trashed) car we cannibalized
to build the new (at the time) one. THIS car, however,
required ALL NEW EVERYTHING as I did not
want to disable the old car ... just in case things didn't
work out the way I wanted J.

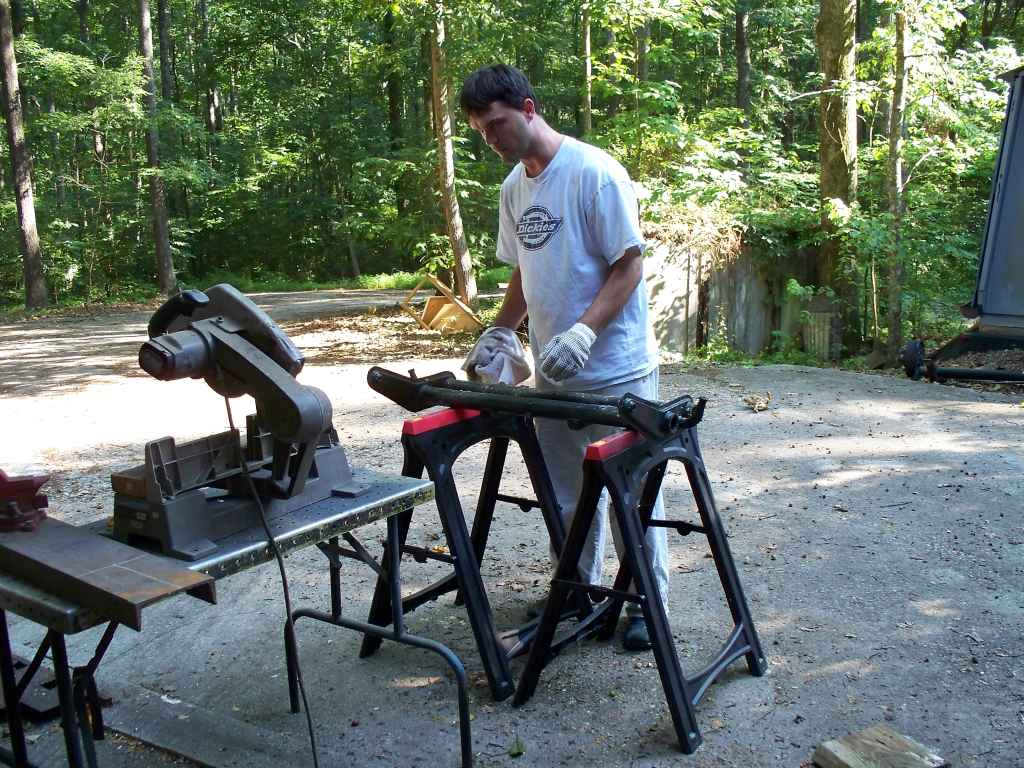
Lee starts working up a new front beam for me
_small.JPG)
_small.jpg)
_small.JPG)
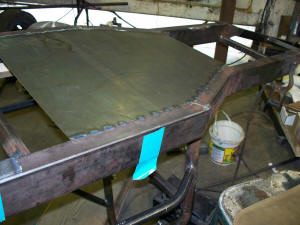
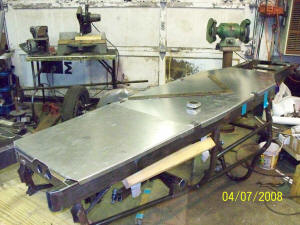
The bodywork arrives! I set it up on my 'fabrication
table' that would be used to build the frame (so I didn't have to lay on the
floor to do it <G>).
Unfortunately, I FORGOT to take pictures of the base frame as it was built up on
that table - too focused on the job at hand).
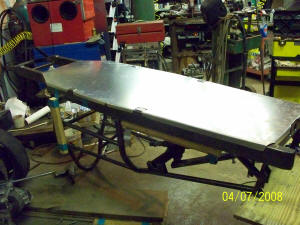
I'll get a picture of the stripped down frame the next time
we strip it down, but we built the bottom frame first. Starting
with the engine/trannie cradle area, then the front frame to
the front beam, then the rear trannie/trailing arm mount, then
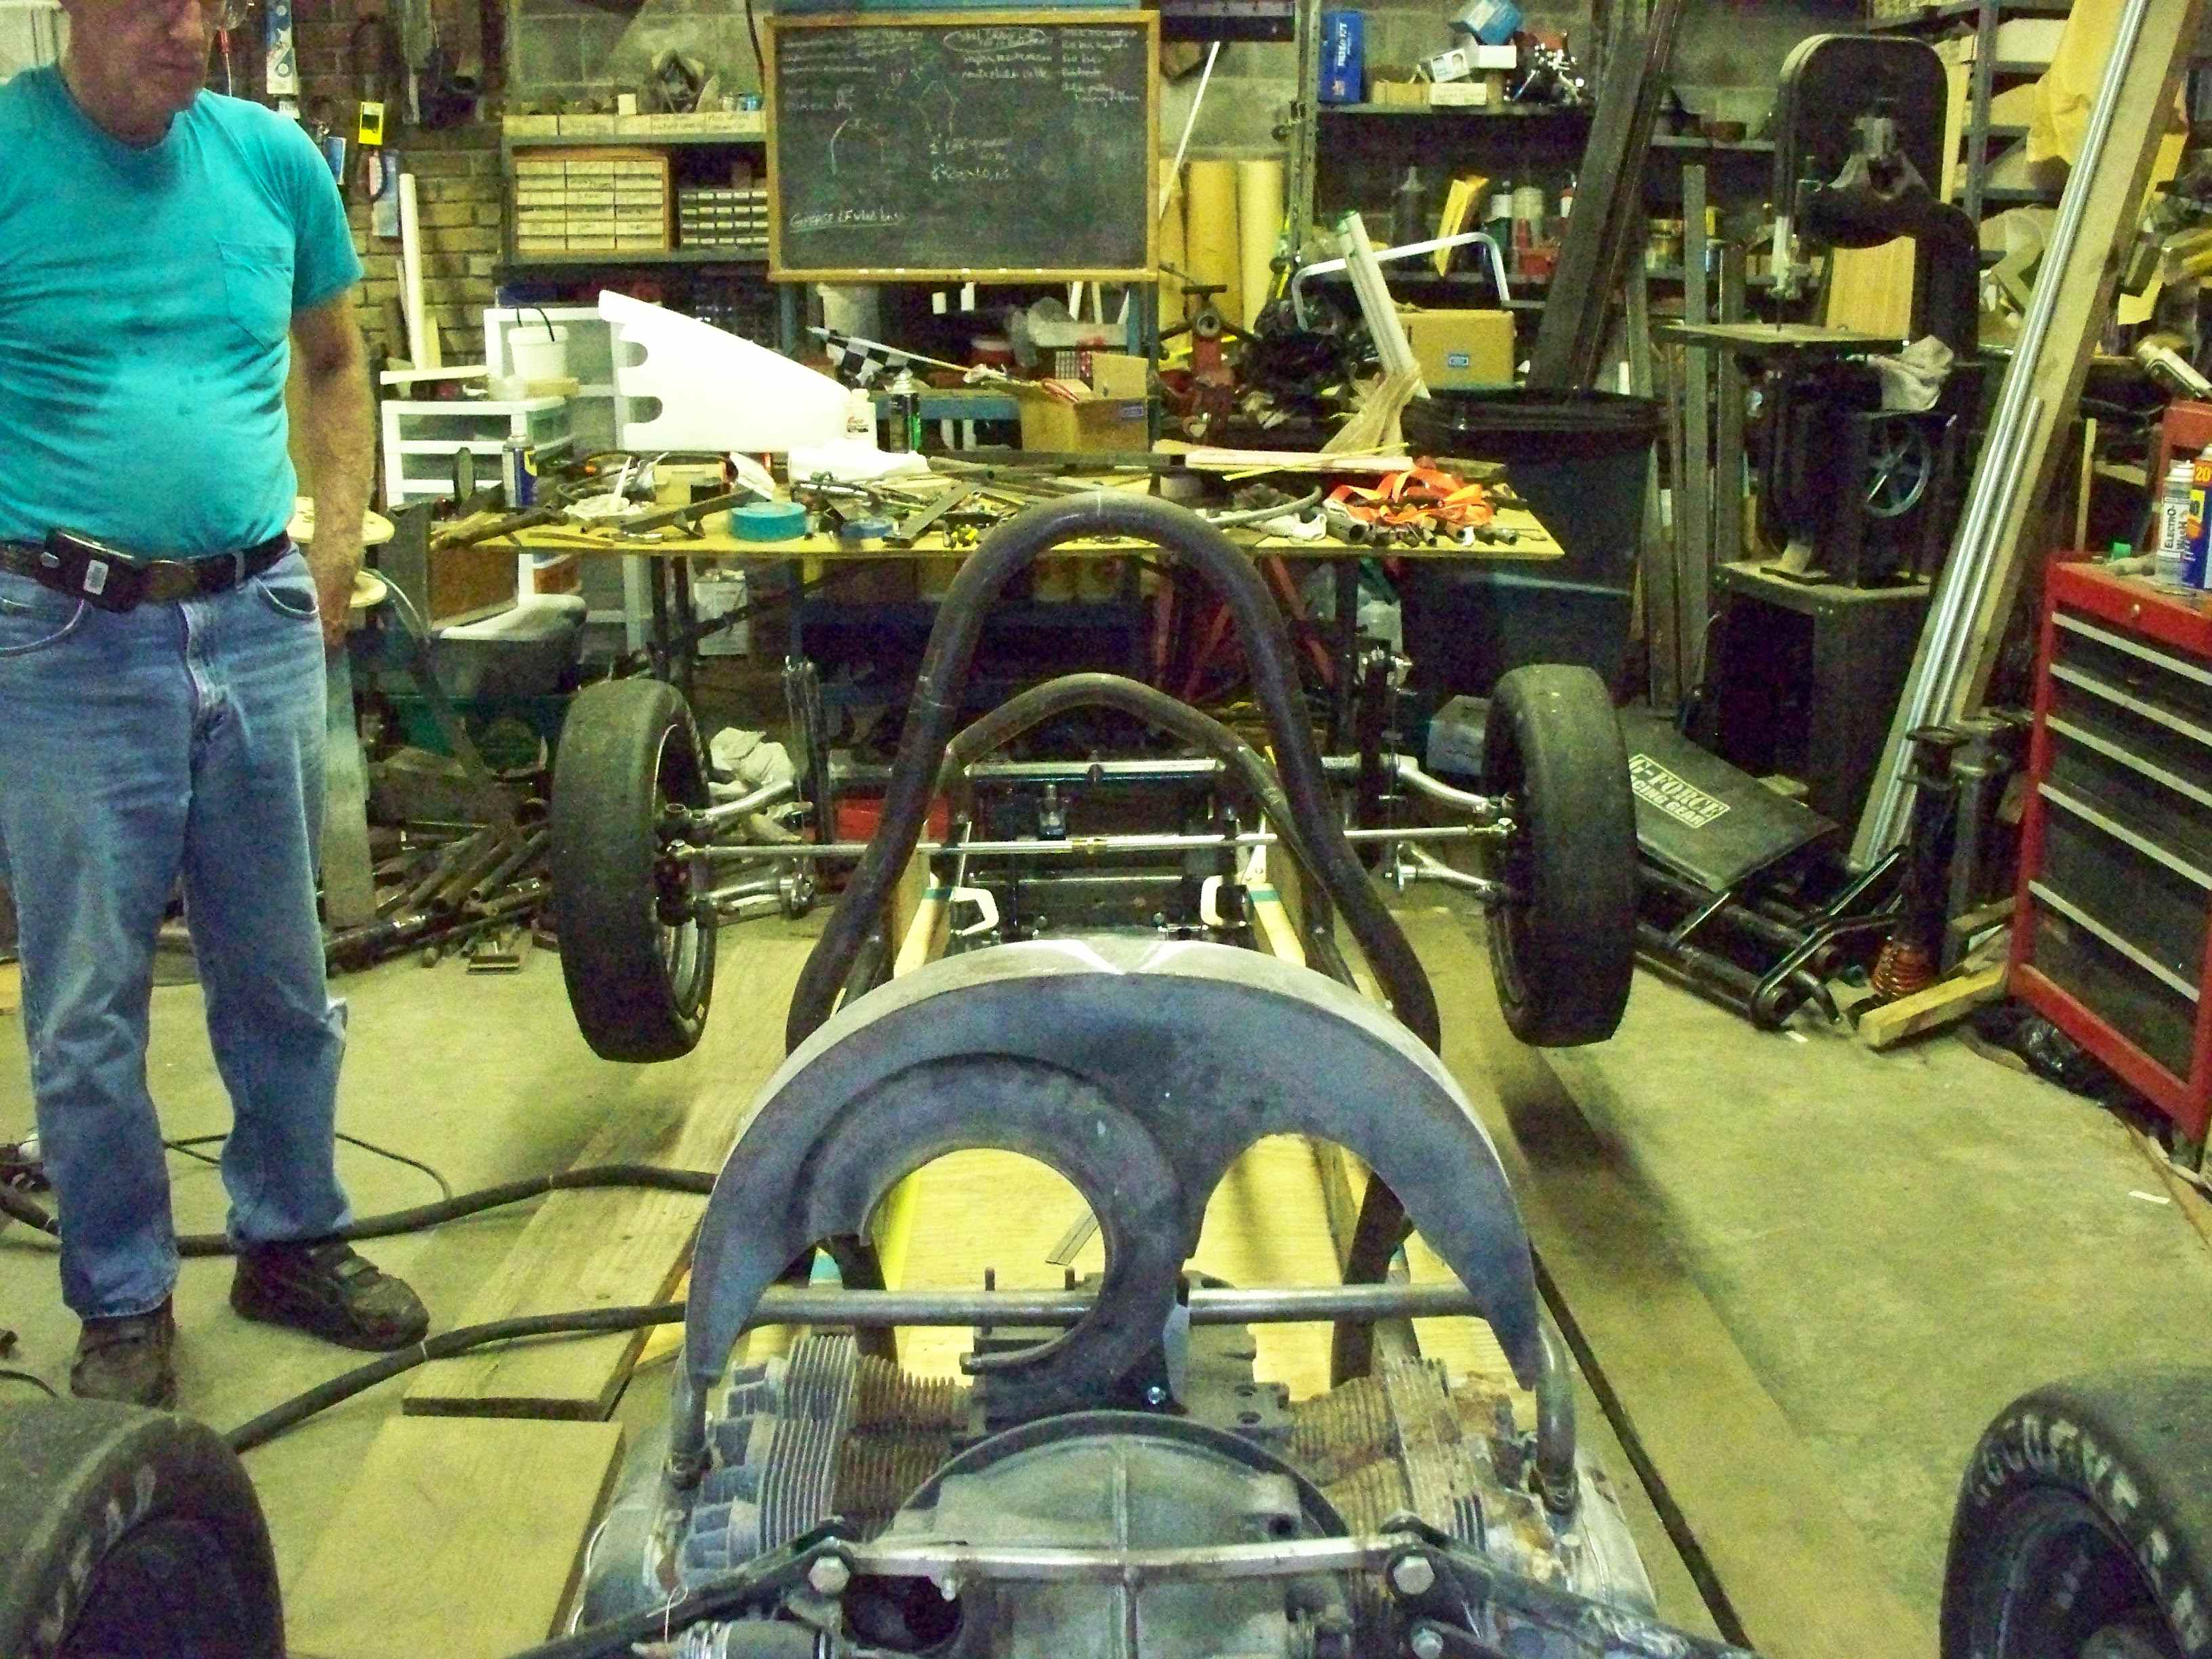
the frame to that mount. At that point, we took time to build
up a complete front end and mounted the REAL trans and a
fake engine with the new front end to support the car on it's
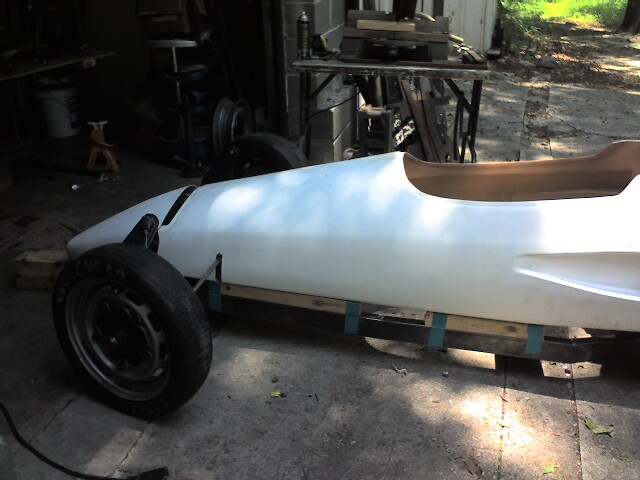
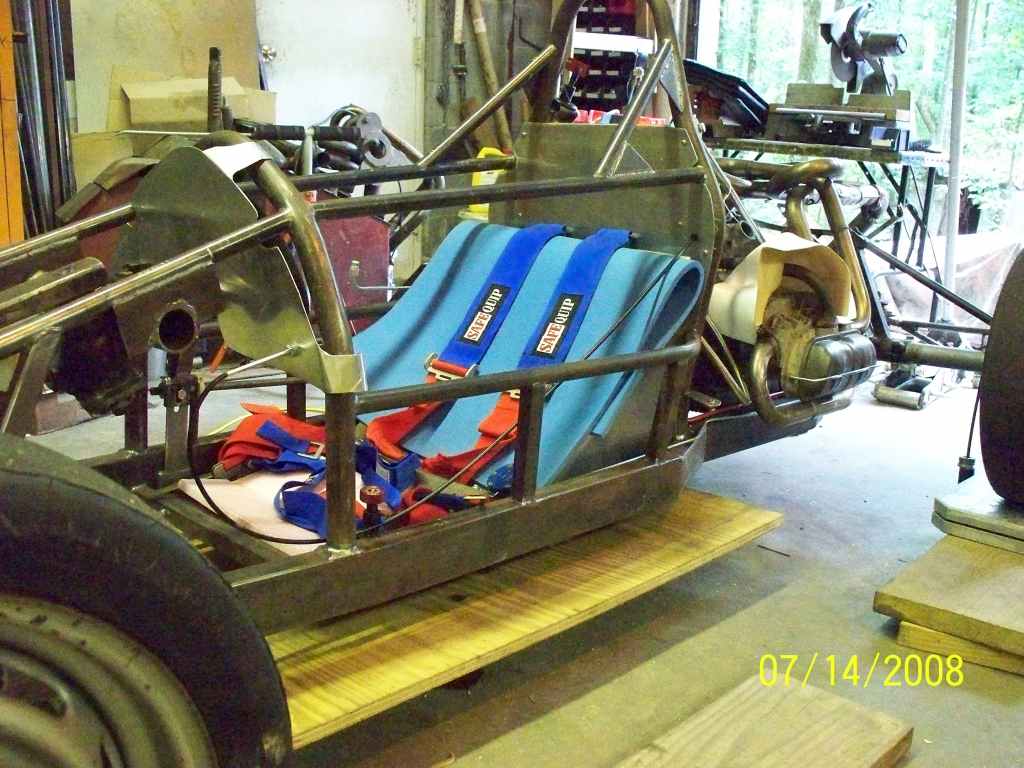
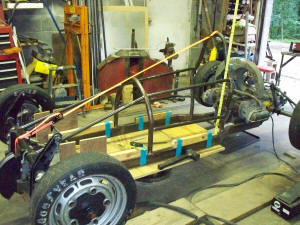
wheels for the first time. Here the bodywork sits on the frame
rails and the fan shroud that's mounted to the top of the engine.
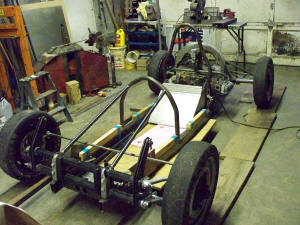
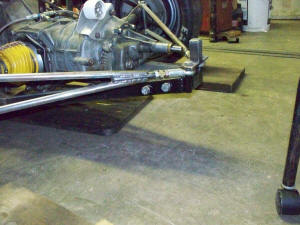
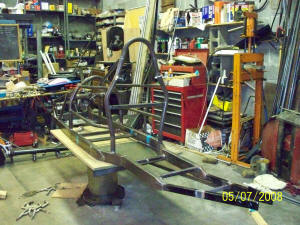
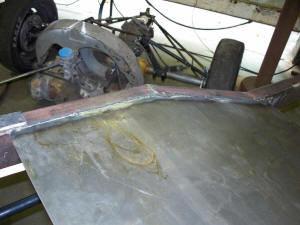
Once the lower frame was built, I needed to 'establish'
the wheel base - so I built temporary attachments for the front suspension and
transaxle and installed
them (along with an old engine case/cylinders/heads plug to help me position the
bodywork.
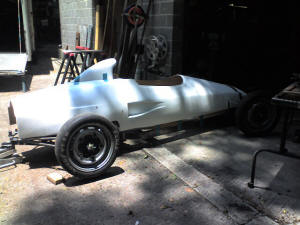

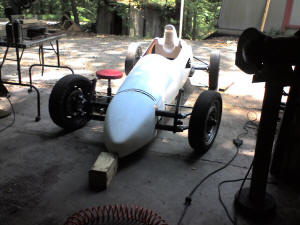
This is the first time we had the opportunity to see (kinda) what the car would
look like in final trim.
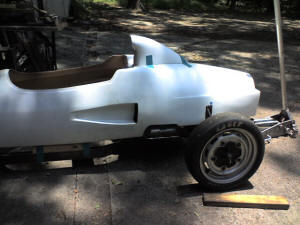
This is also when the decision had to be made as to the 'orientation' of the
bodywork (attack angle and
how it related to the lower frame) - note wood spacers. The jack stand is
holding the bodywork 'in'
towards the frame, where it will be when fastened.
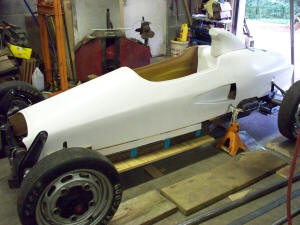
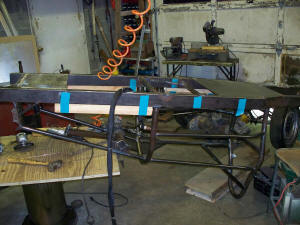
At this point, I got rid of the layout table (it was
taking up too much room) and went to the in-ground lift. It was REALLY
nice
being able to raise and lower the car at any point to work on specific items.
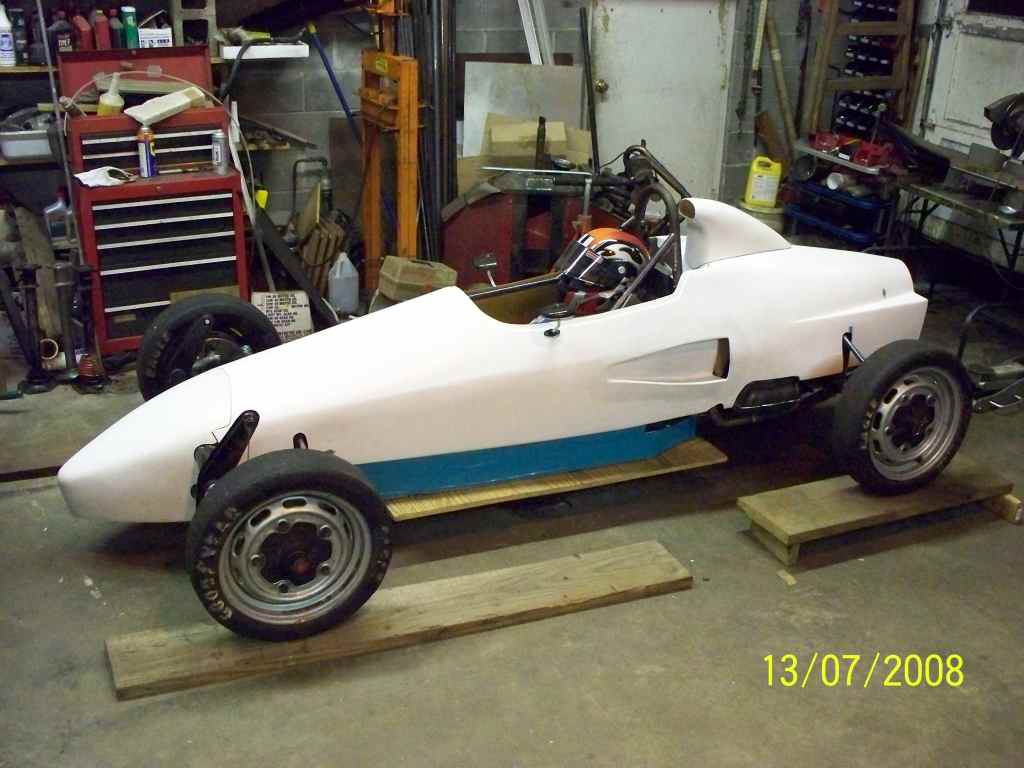
The lift is a little high for the race car, so we have
to raise it by putting the tires on stacks of wood!
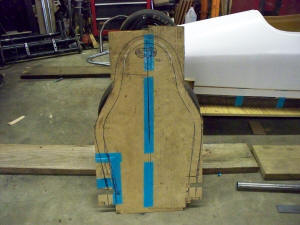
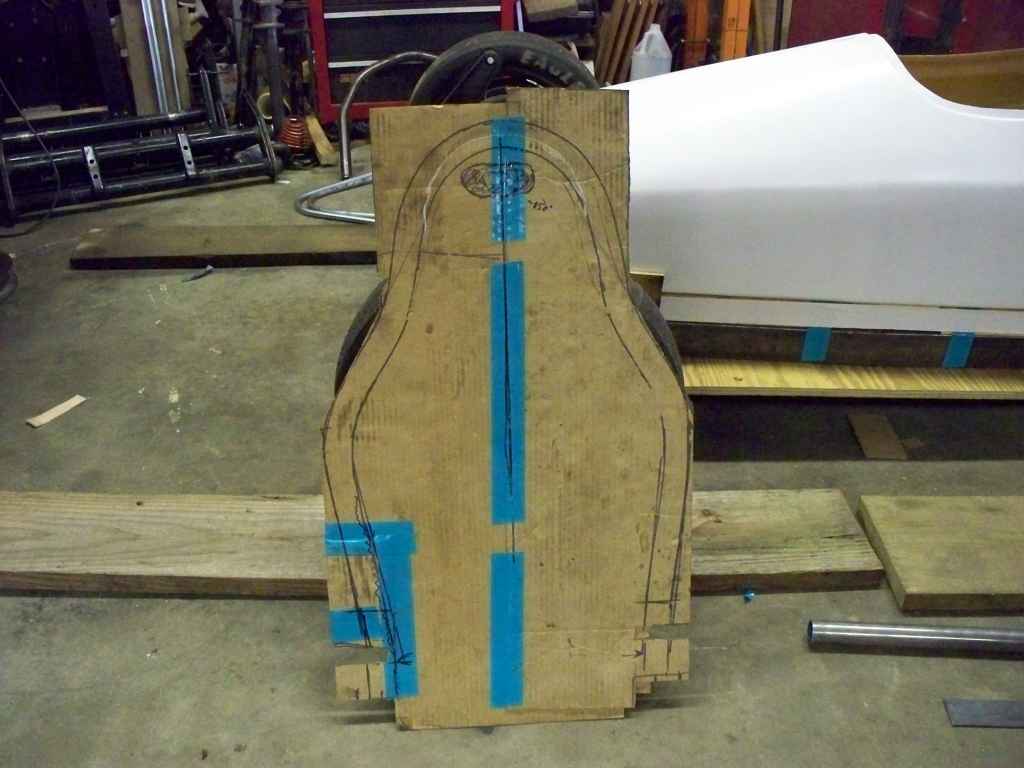
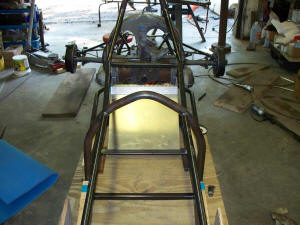
The next step was the main roll hoop. We made a
cardboard mockup of the inside of the cockpit to
create an outline of the main roll hoop
Then I bent the hoop using the template to compute the
lengths and angles. Thanks VERY MUCH to Kevin
Allen and Adam Malley (MallenAlley.com)
for the loan of
a REALLY NICE JD-2 tubing bender!
And THANKS to Linda for making all those meals for us
while we worked on the car :-). (the BAR
service was a little slow, but we needed the breaks anyway <VBG>)
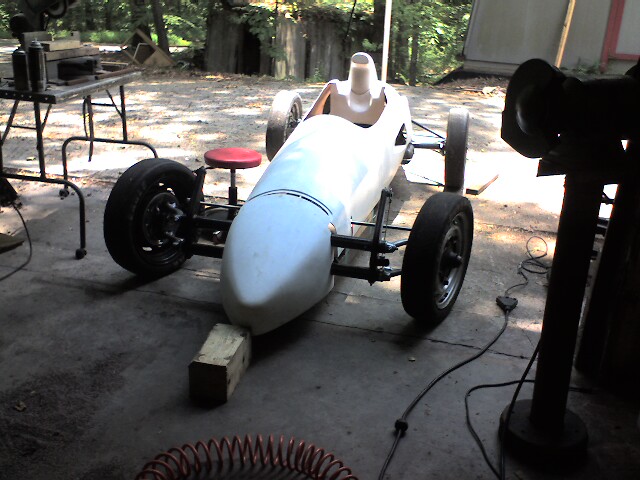
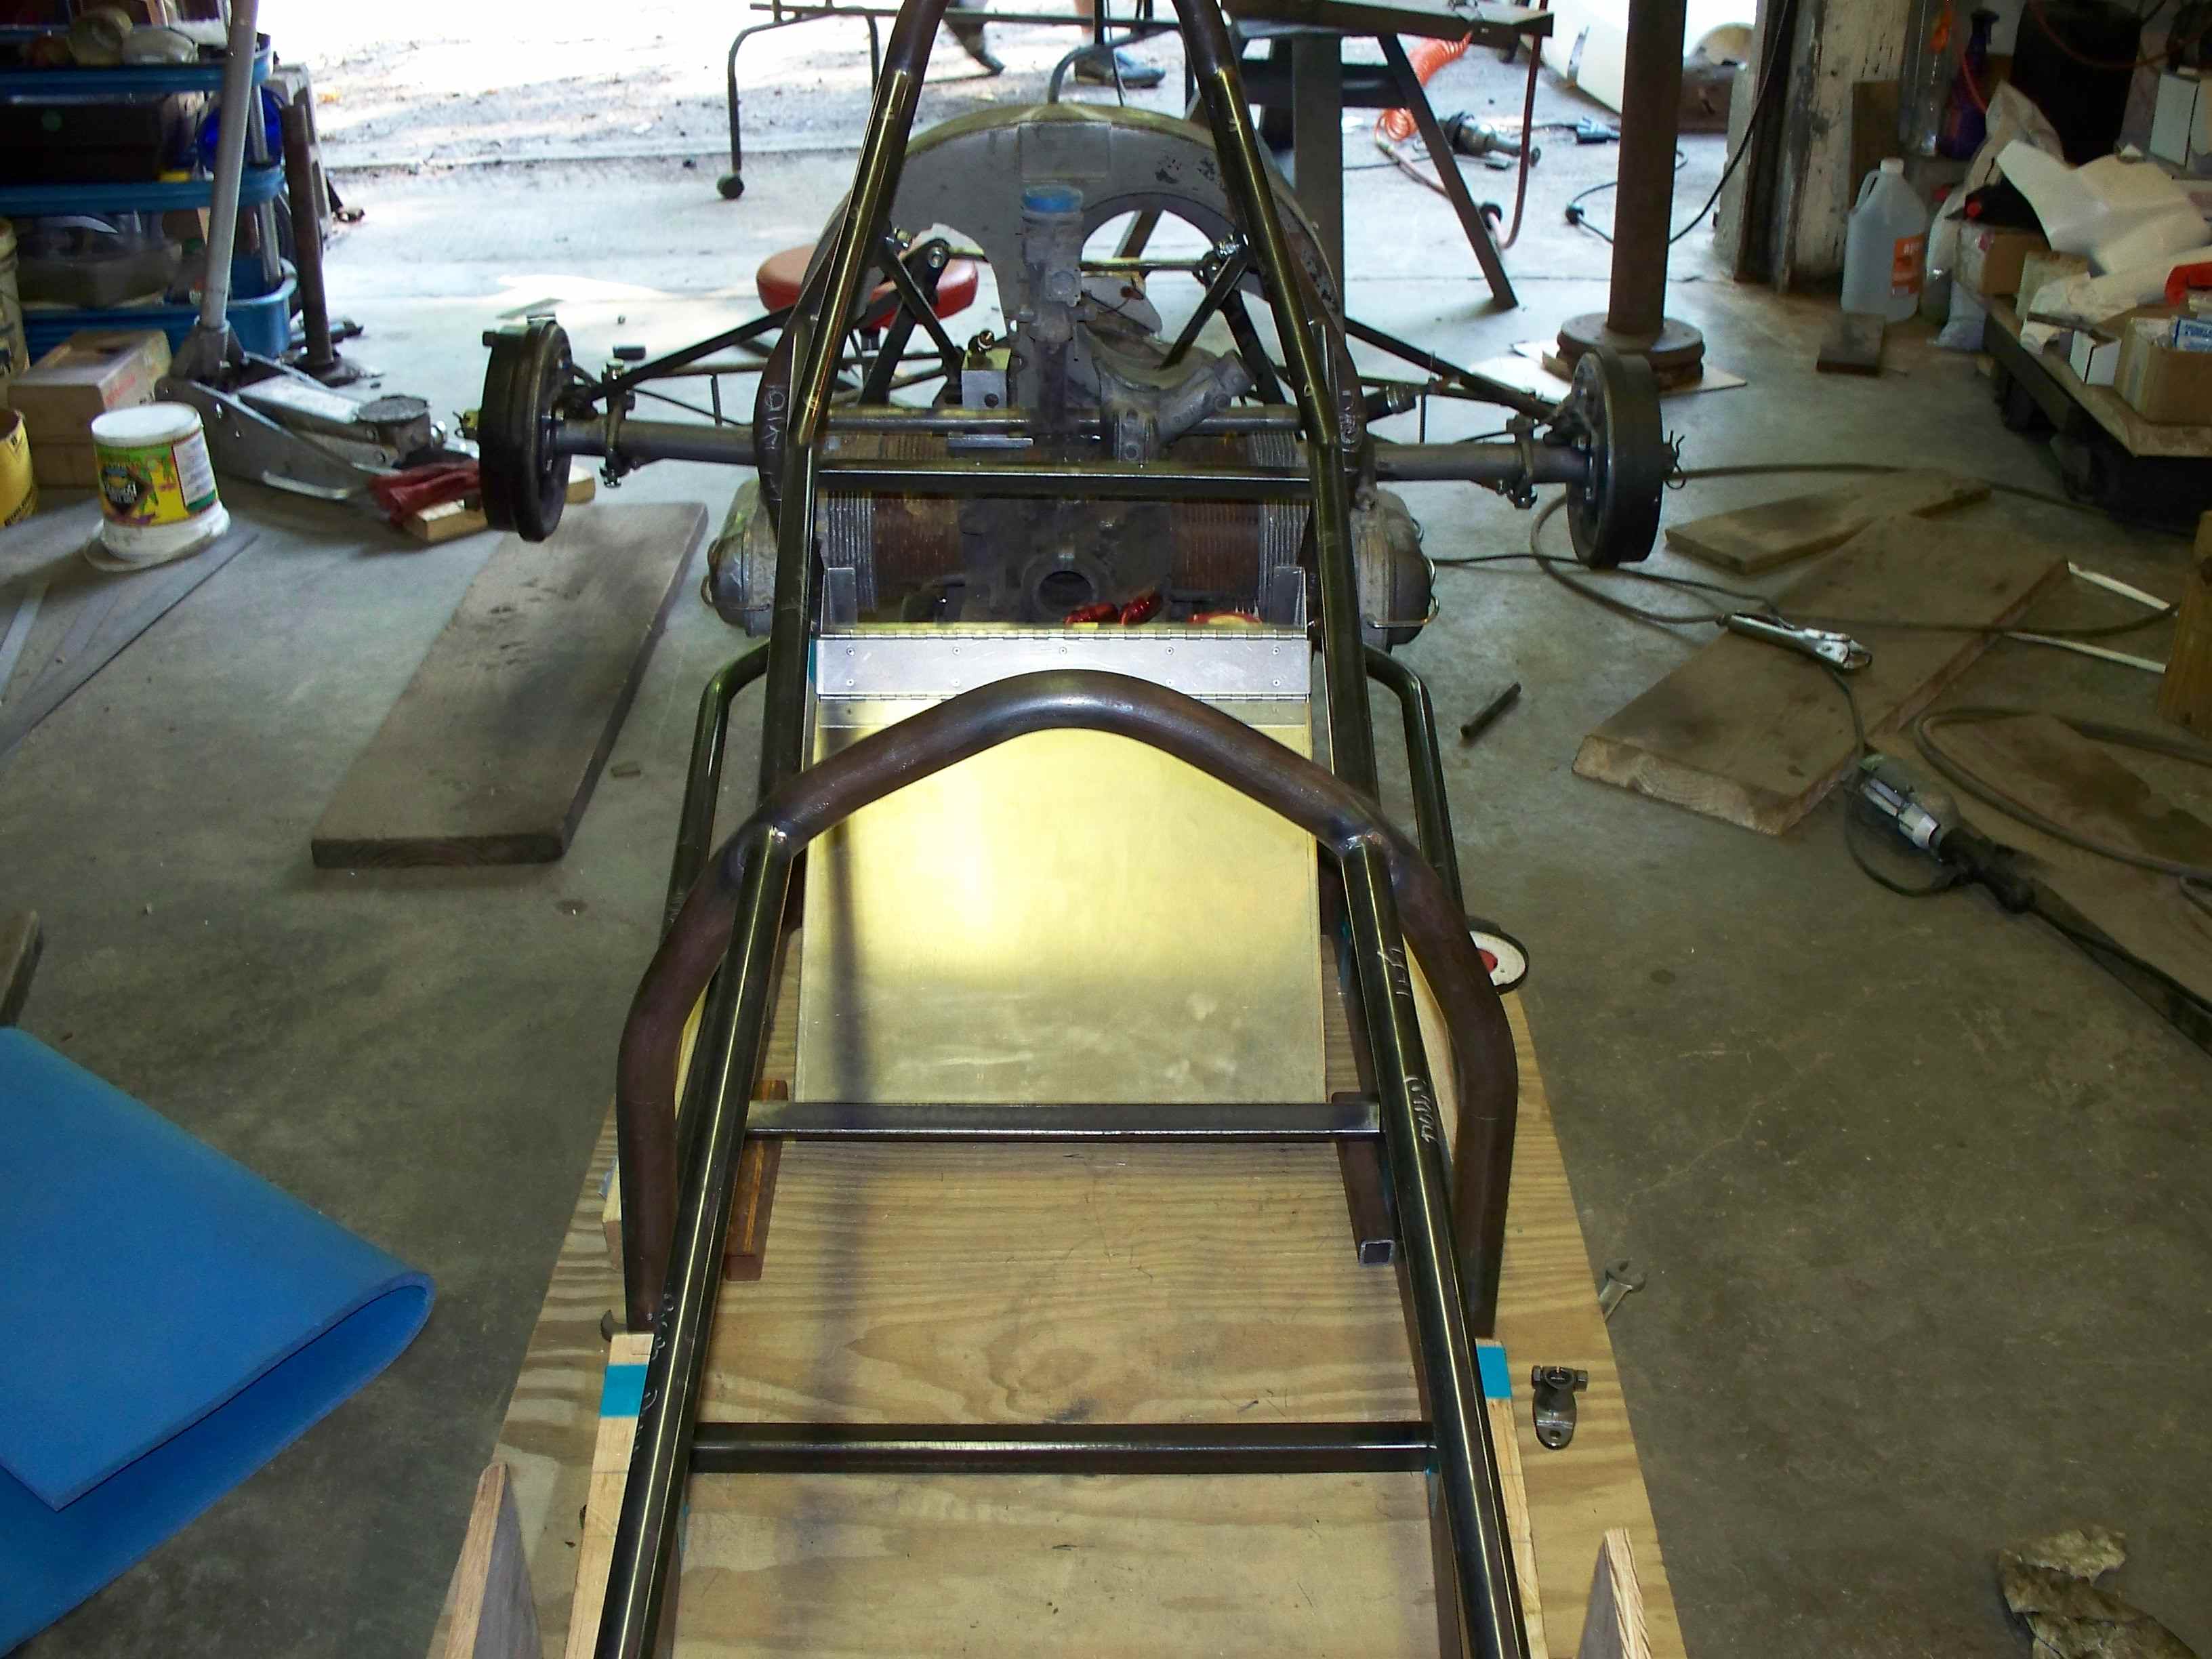
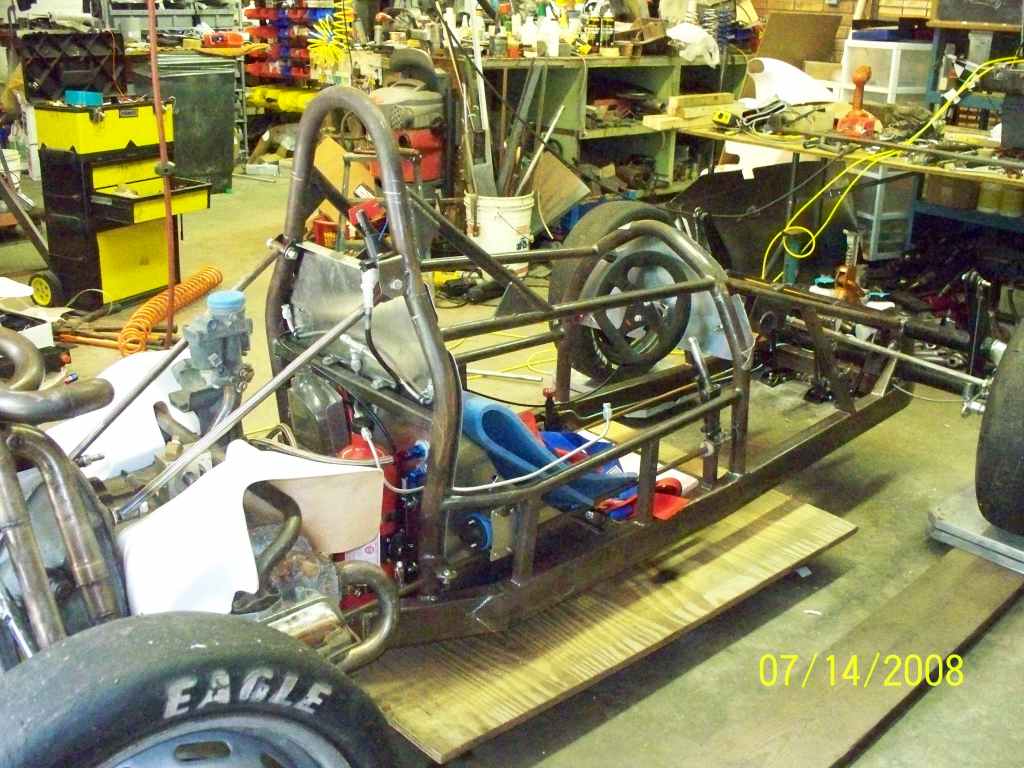
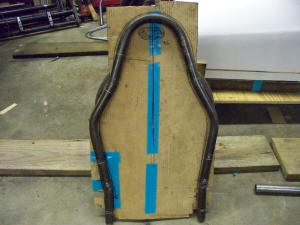
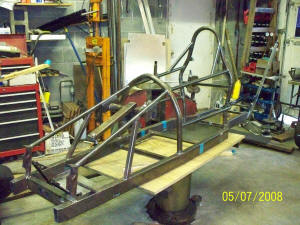
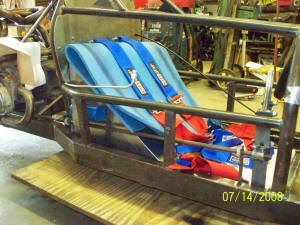
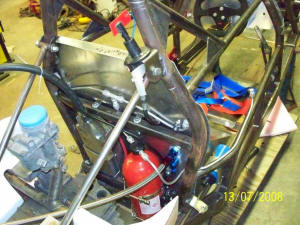
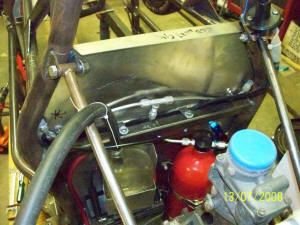
We installed the completed main hoop and then built
the front hoop in a similar manner. Next, we installed
the 2 main front hoop supports. Here we show the fuel
cell and its container sitting at the main hoop.
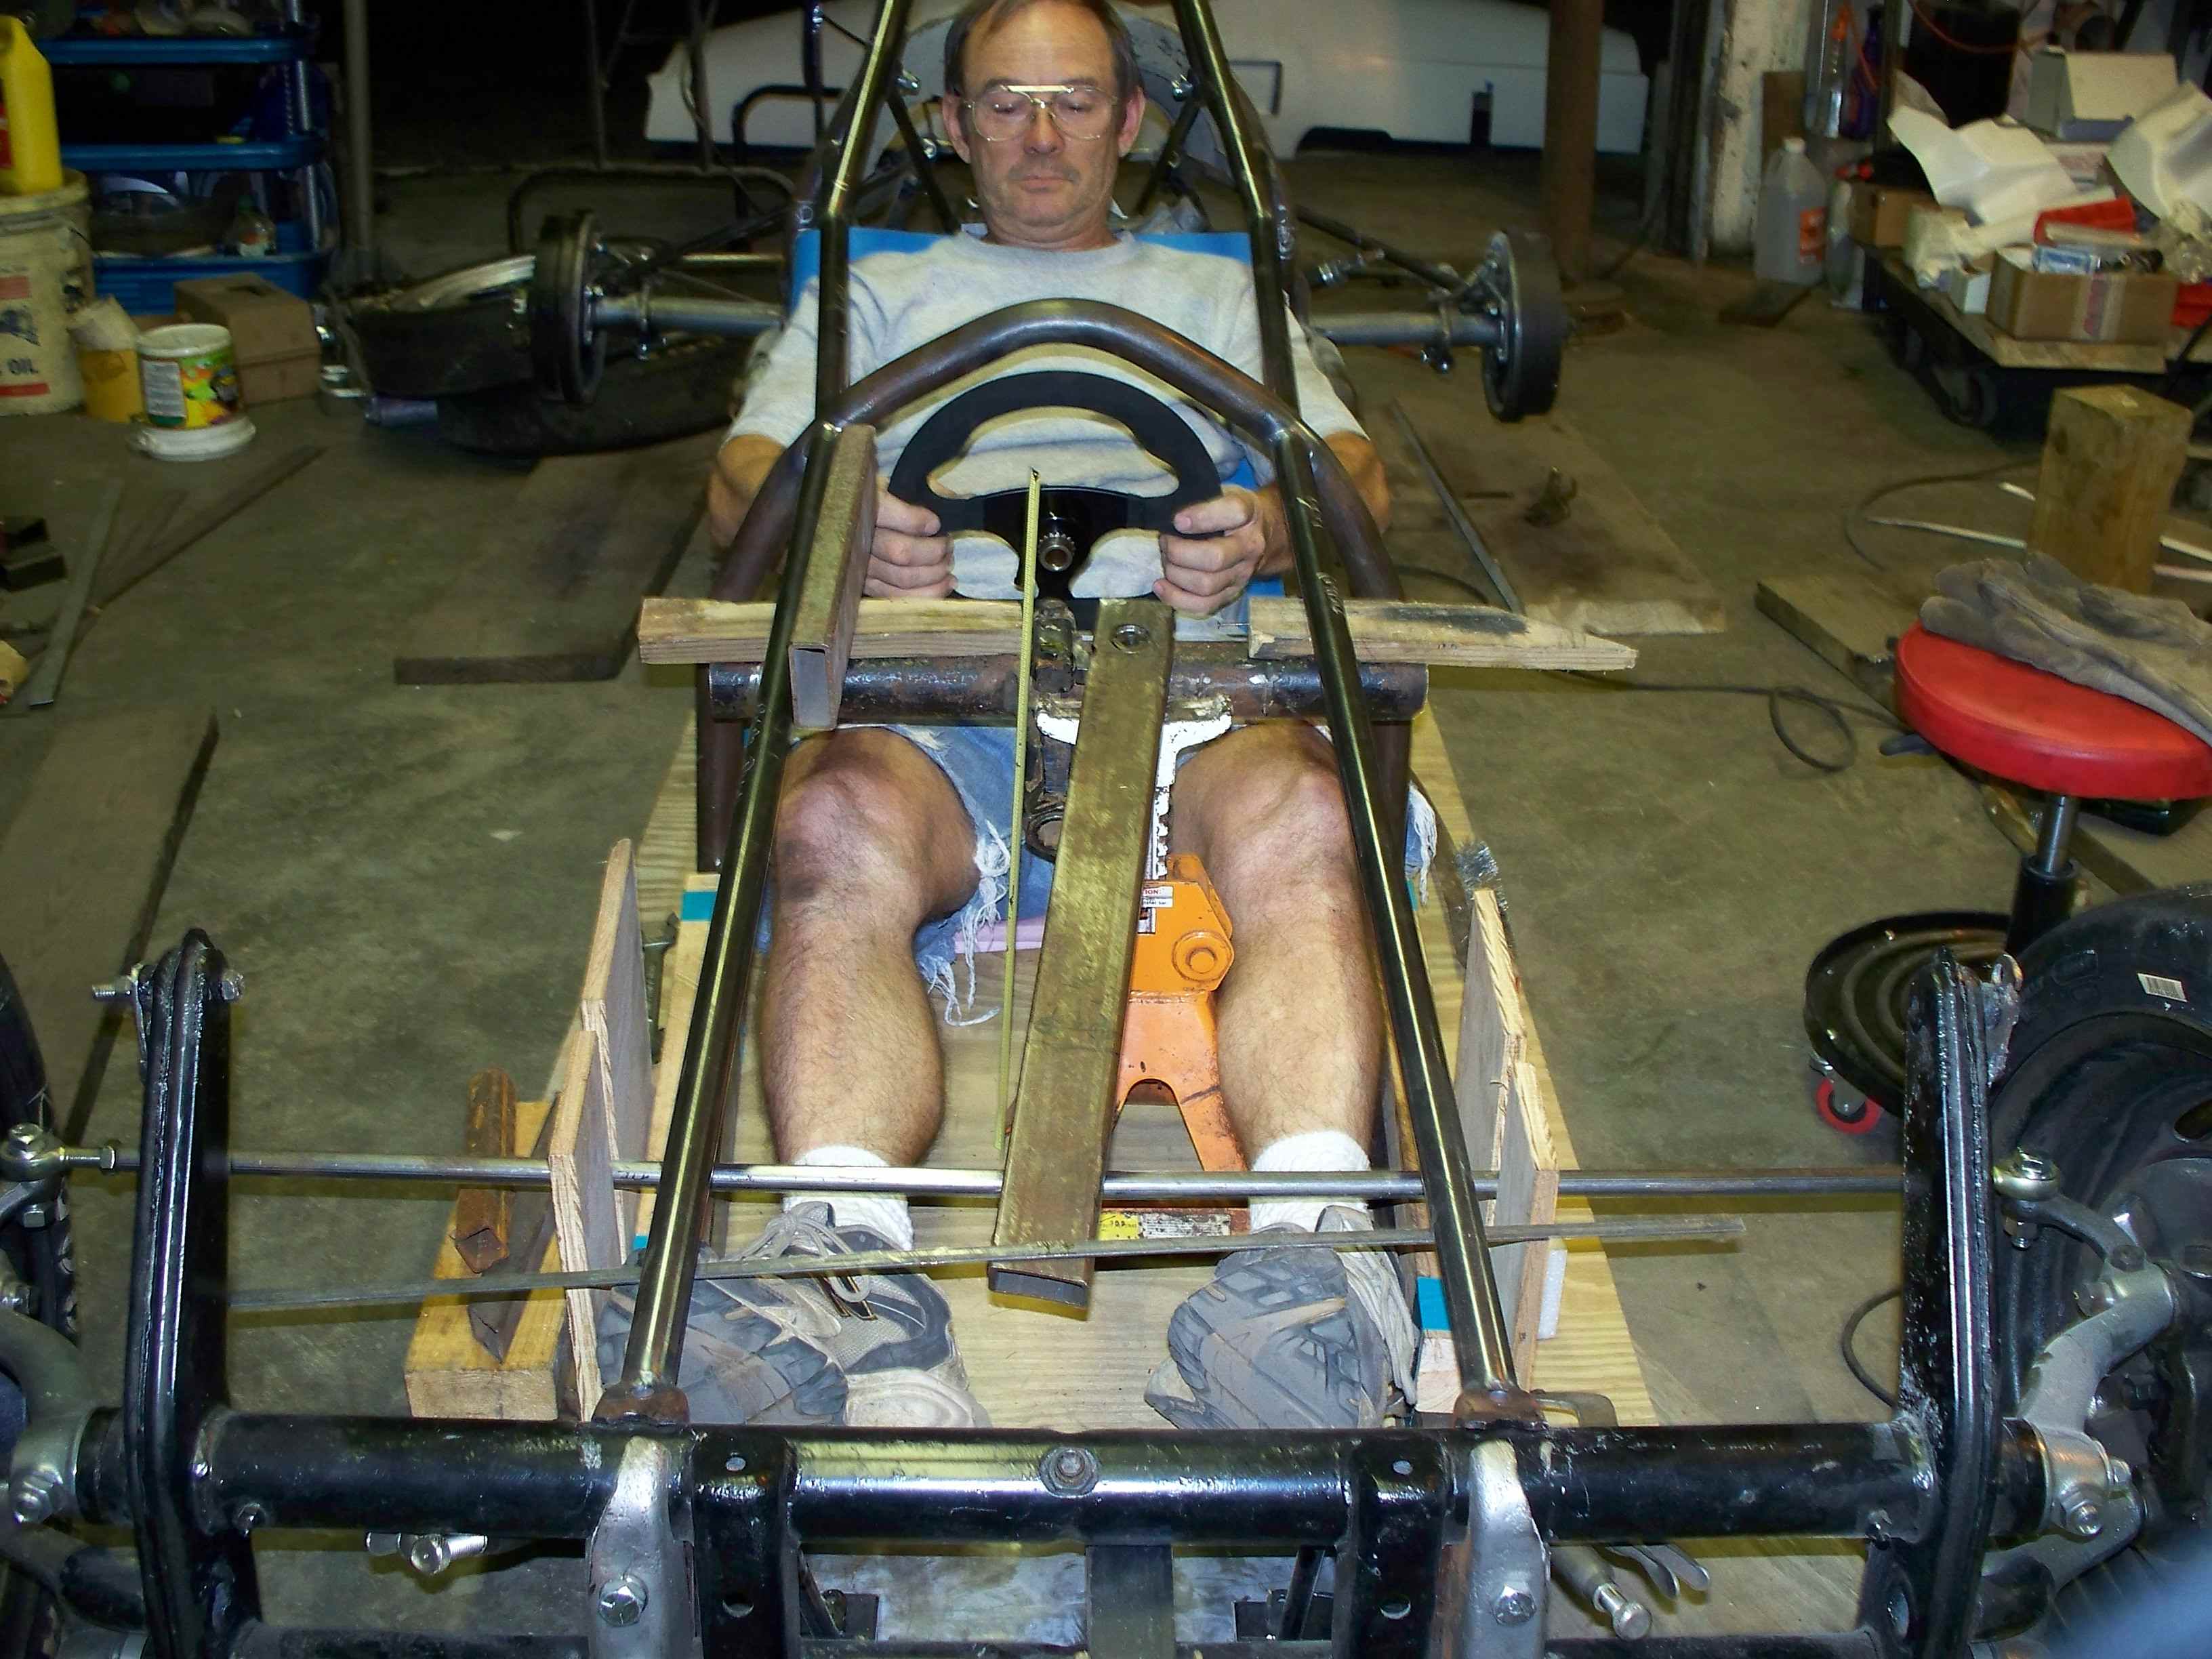
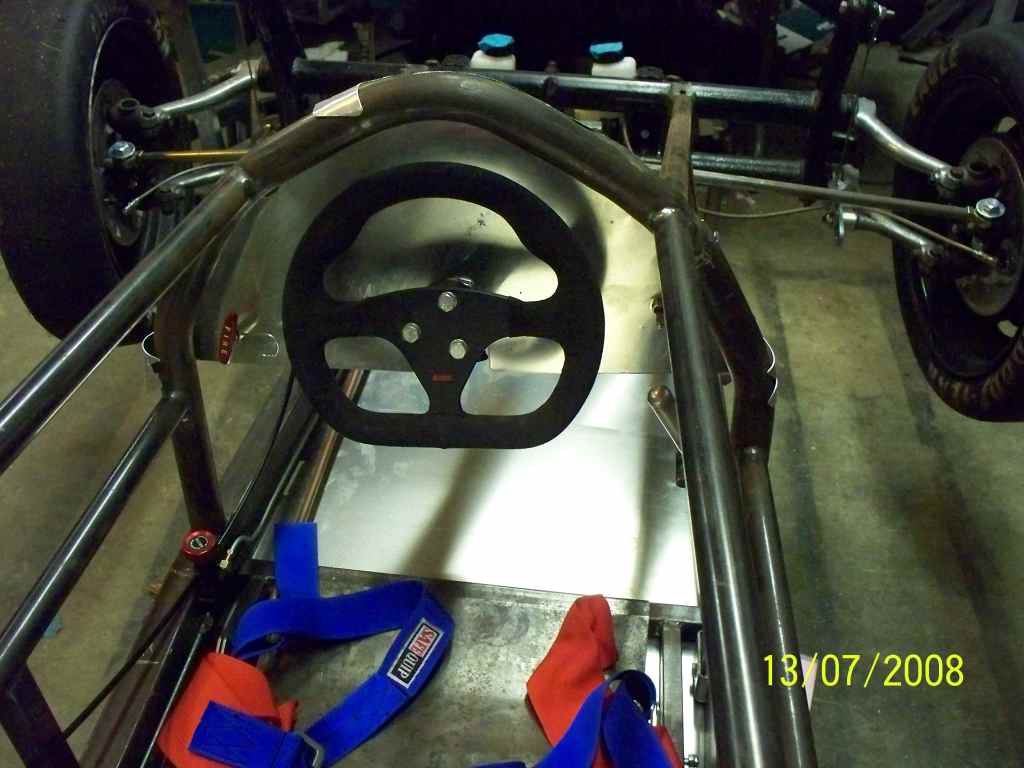
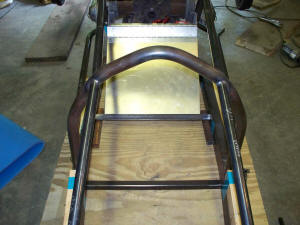
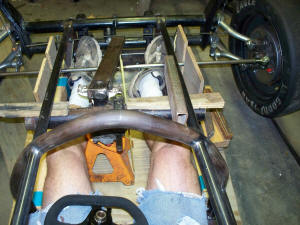
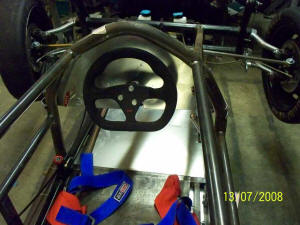
Now, with the front and rear hoops in place, I can sit
in the car and start to determine the final locations of
things like the STEERING WHEEL and SHIFTER!
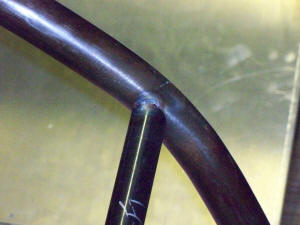
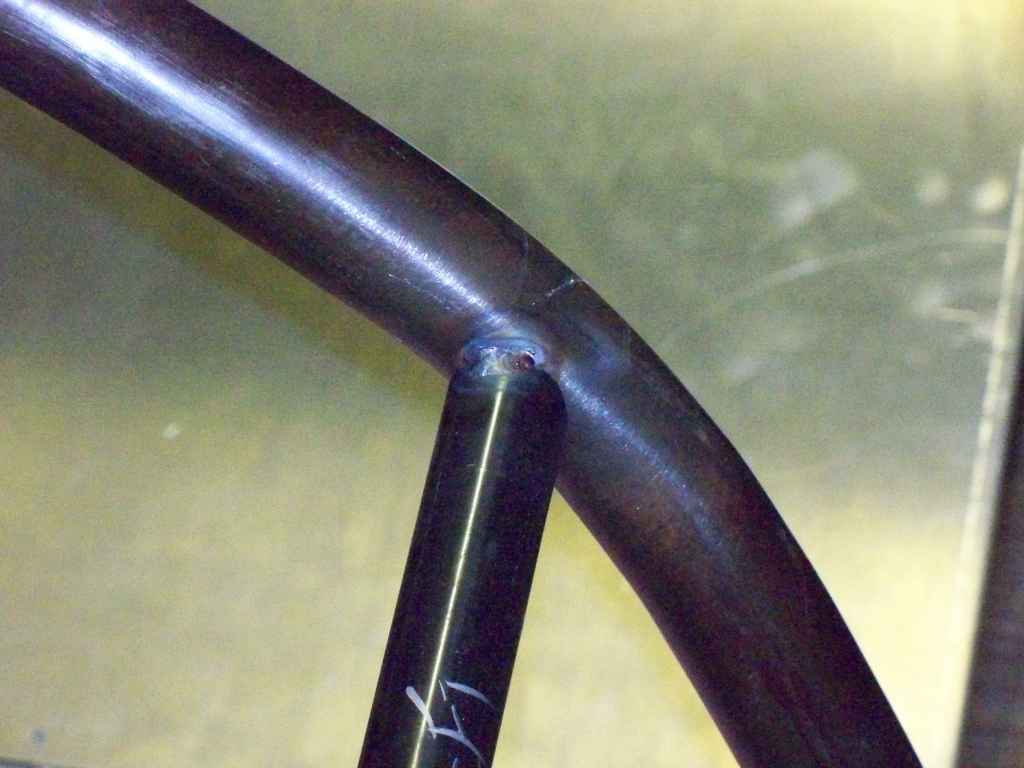
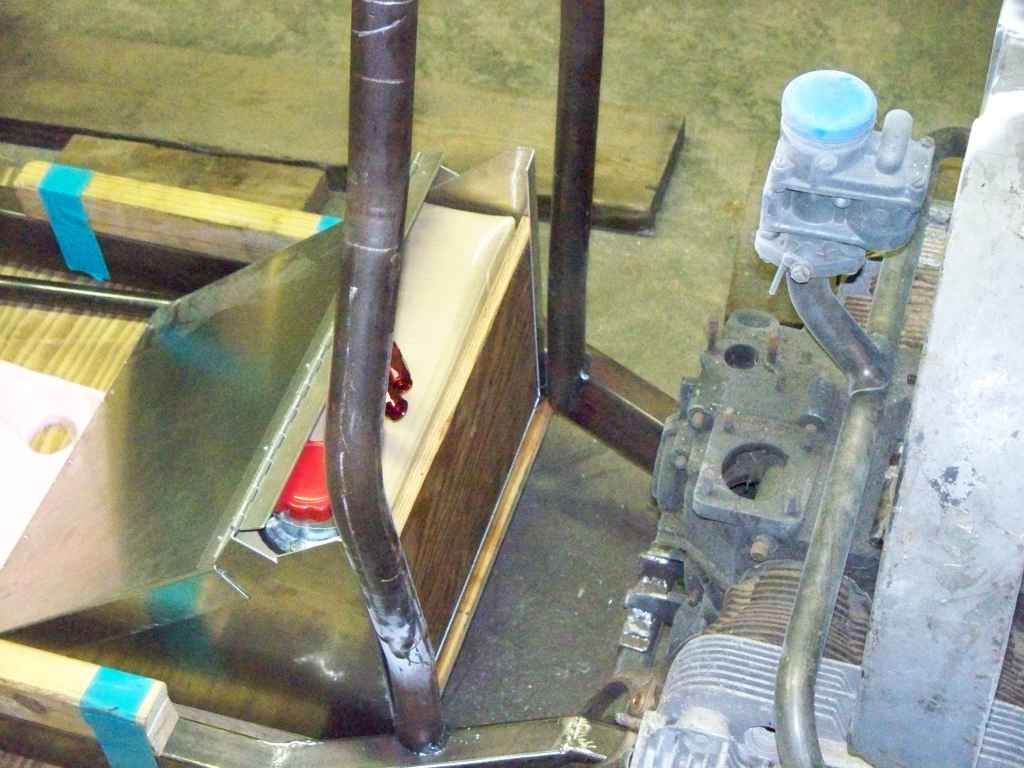
A closeup of a weld (just a tack at this point) at the
front roll hoop.
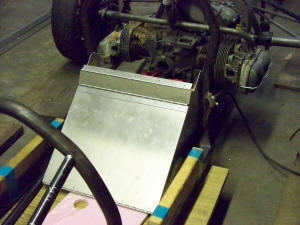
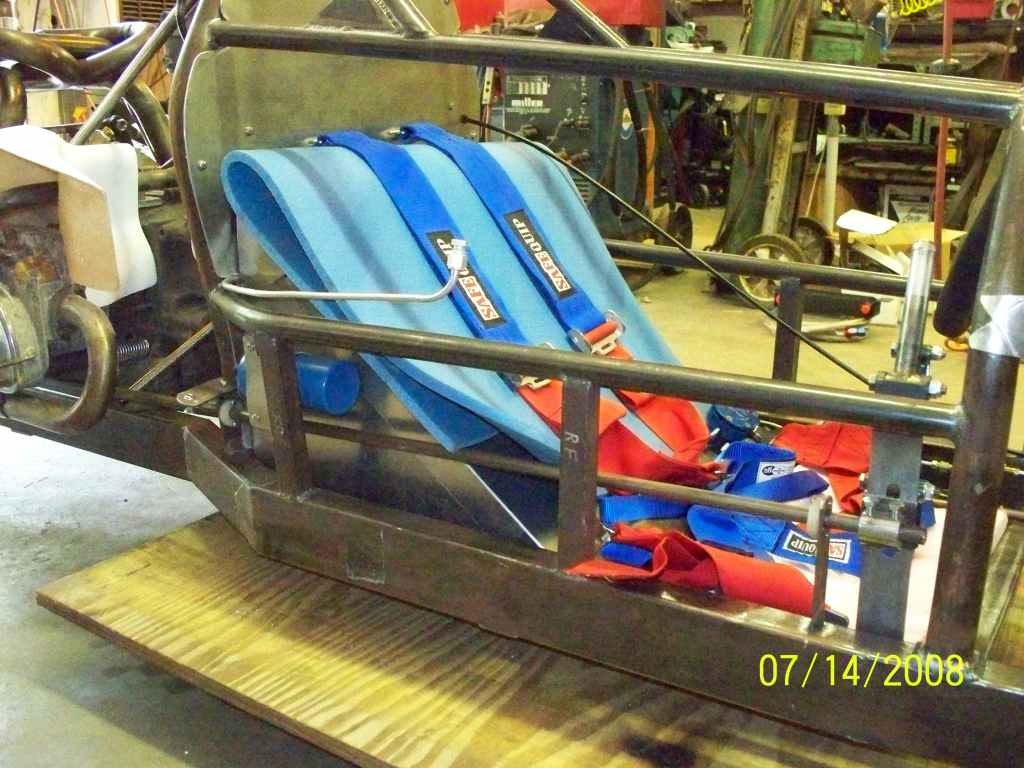
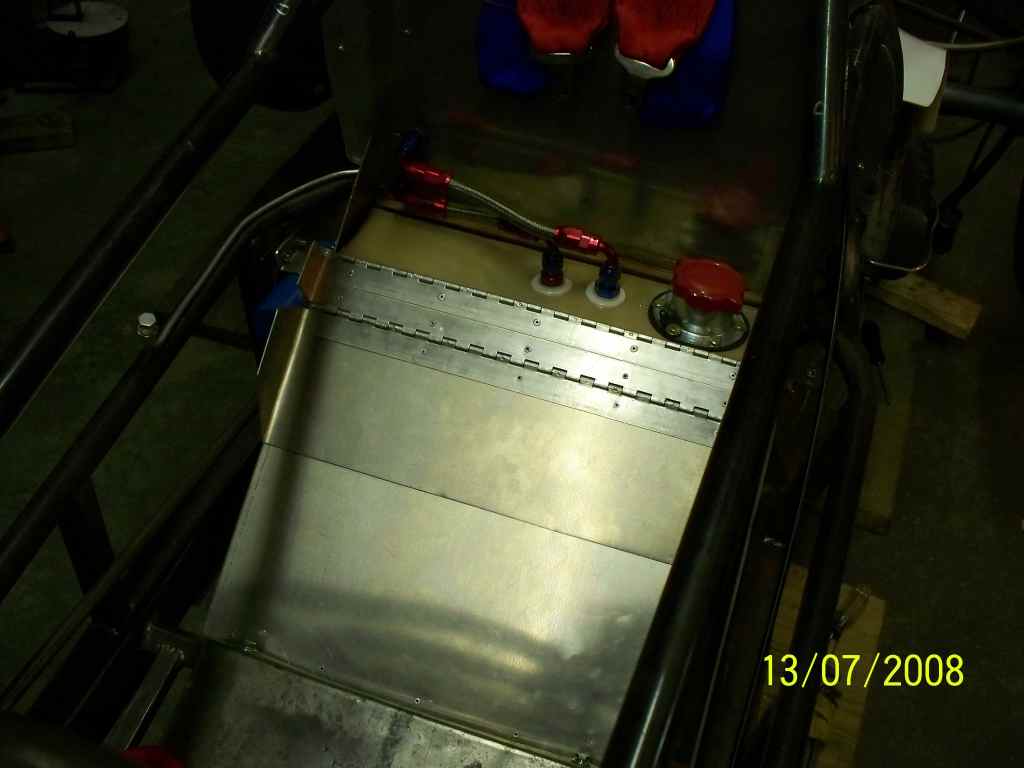
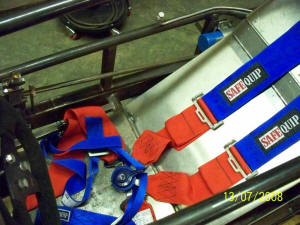
A closer view of the fuel cell and the pad for my butt
to sit on during 'fit tests'.

The area right behind the roll bar will accommodate the
battery and fire system as it does in the current car.

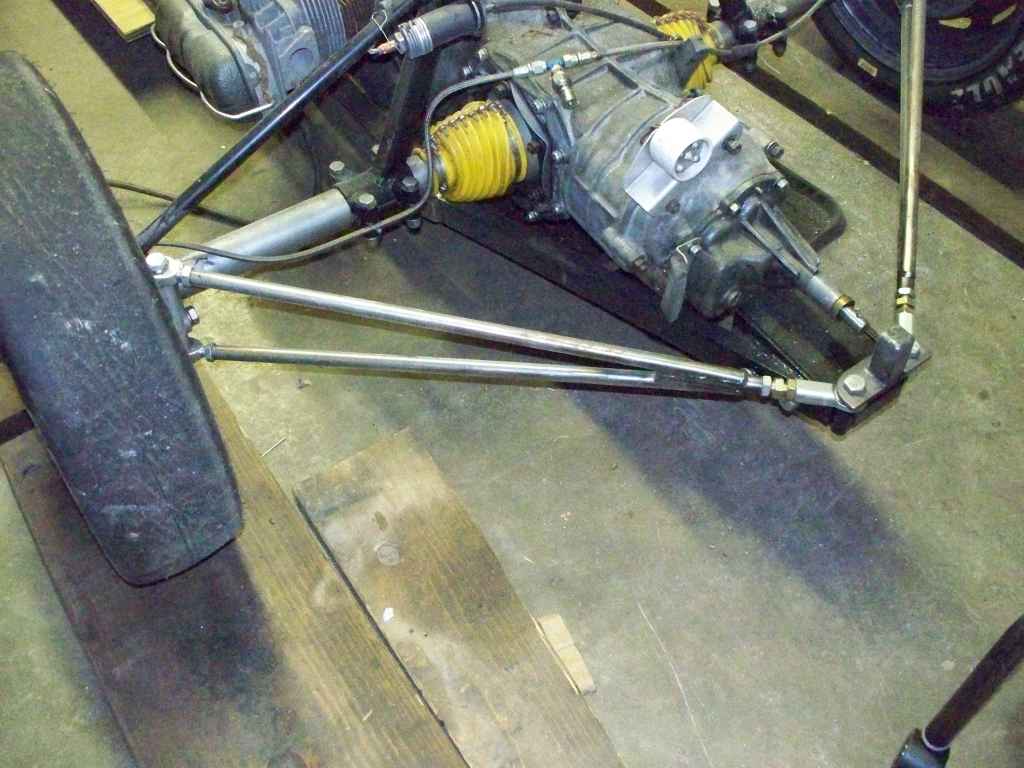
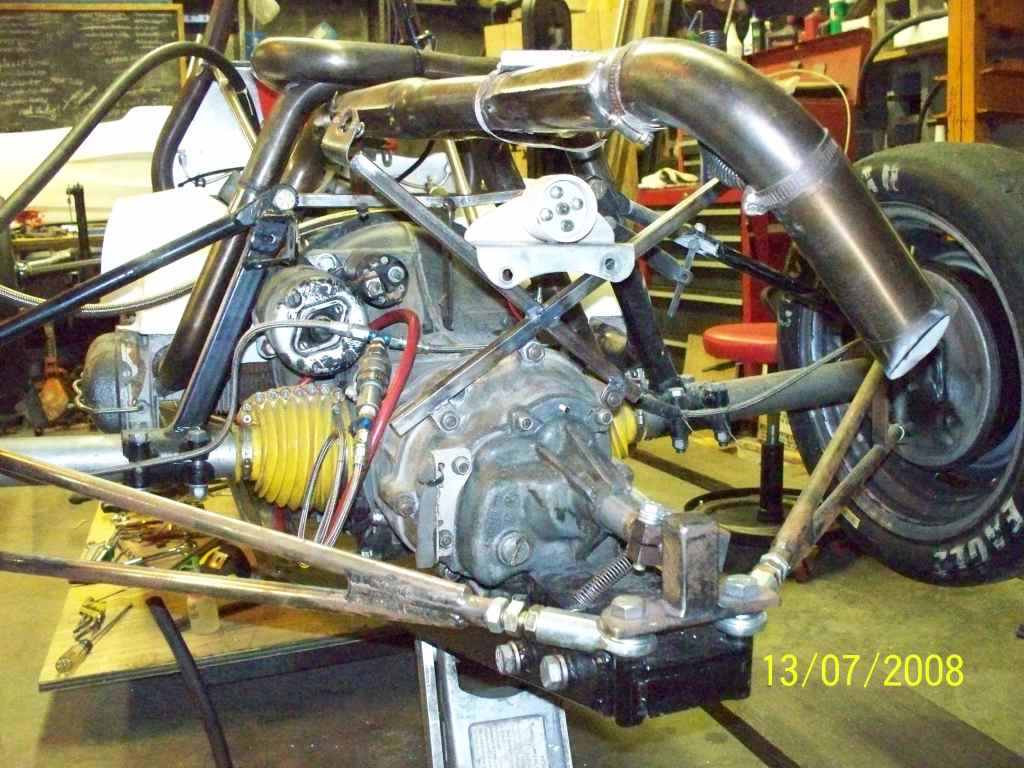
New trailing arms had to be fabricated as well as the
trannie support where they attach
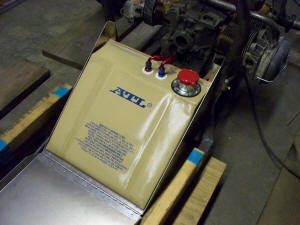
Another closeup of the fuel cell with the container open.
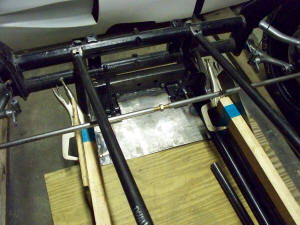
A closeup of the footwell area, showing the (recently
fabricated) clutch and gas pedals. The brake pedal
is still waiting on the balance bar assembly to arrive.
This pic also shows the steel underpan that will support
my feet - another will be below the fuel cell. I will also
sit on a slightly elevated sheet. This allows the complete
belly pan to be ripped off in an accident and still have
me and the cell remain INSDIE the roll cage!.
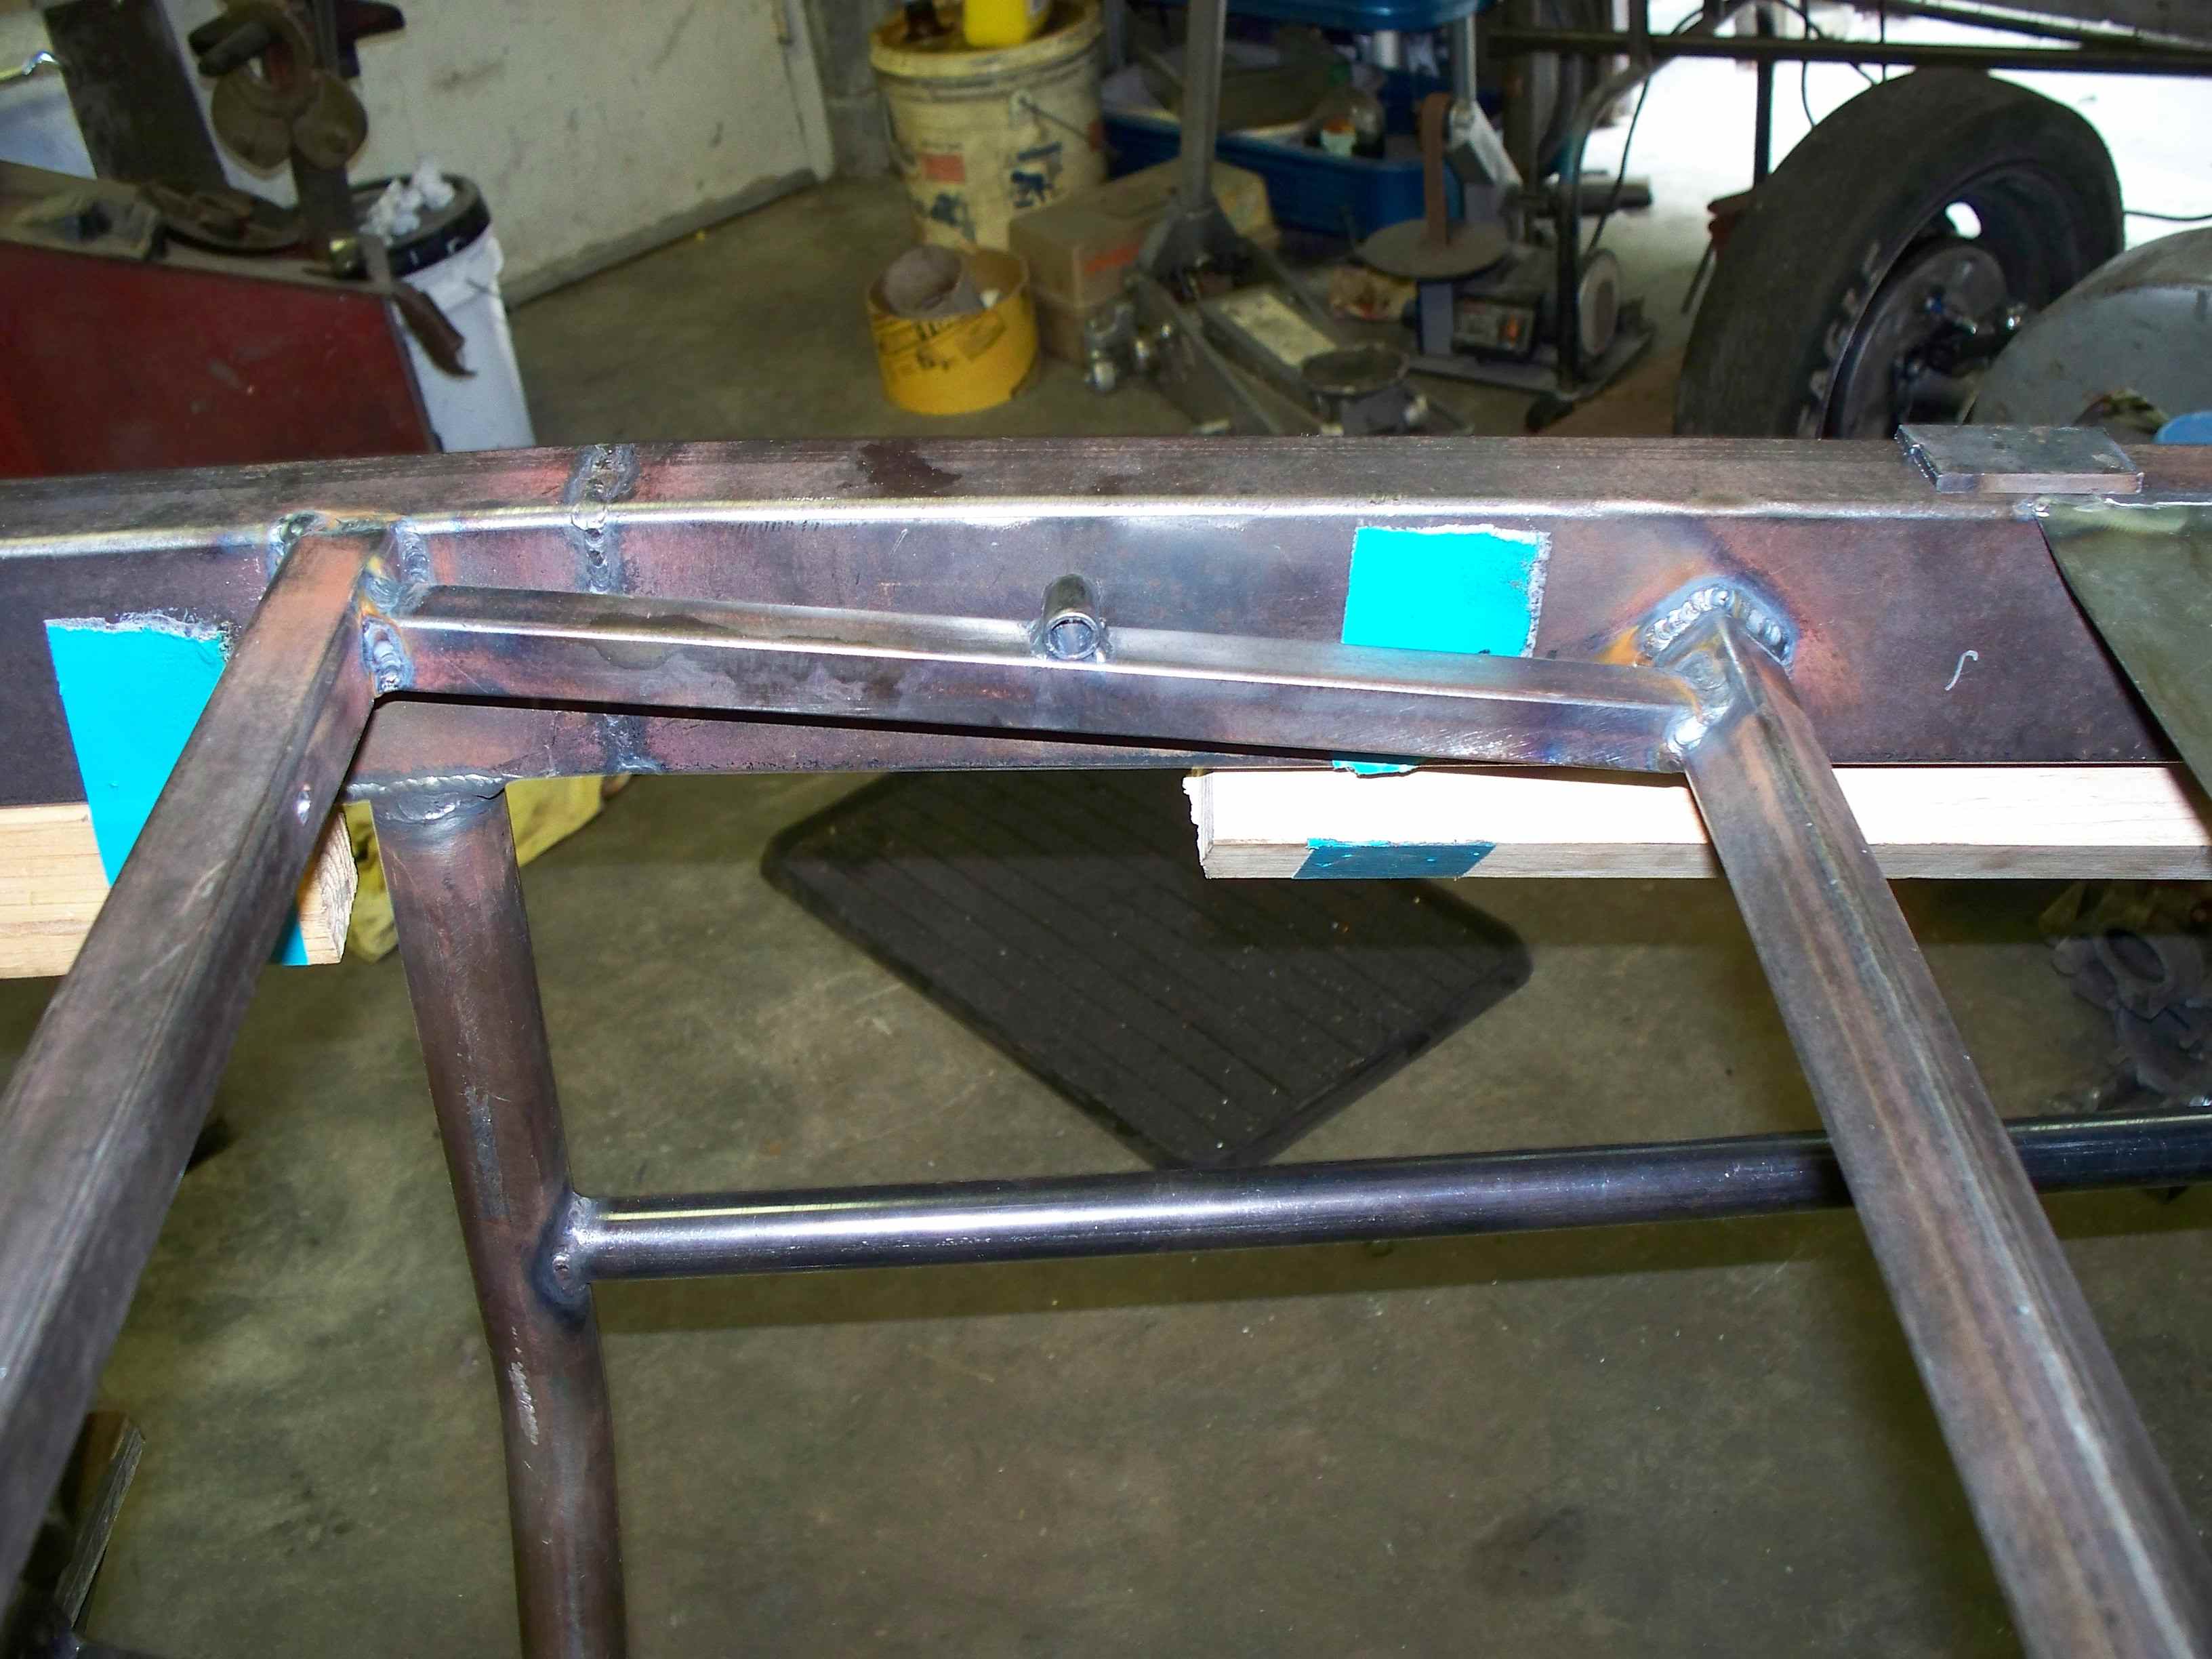
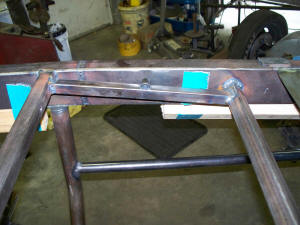
Front and rear butt pan supports are now installed. The
upper and lower side bars are also installed
Thanks to Sam Lockwood (LockRaceWorks.com)
for the loan of his bender for the smaller tubing.

Checking the level on the shoulder harness bar before welding
it
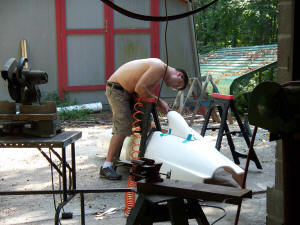
Lee starts the cutout work on the air scoop
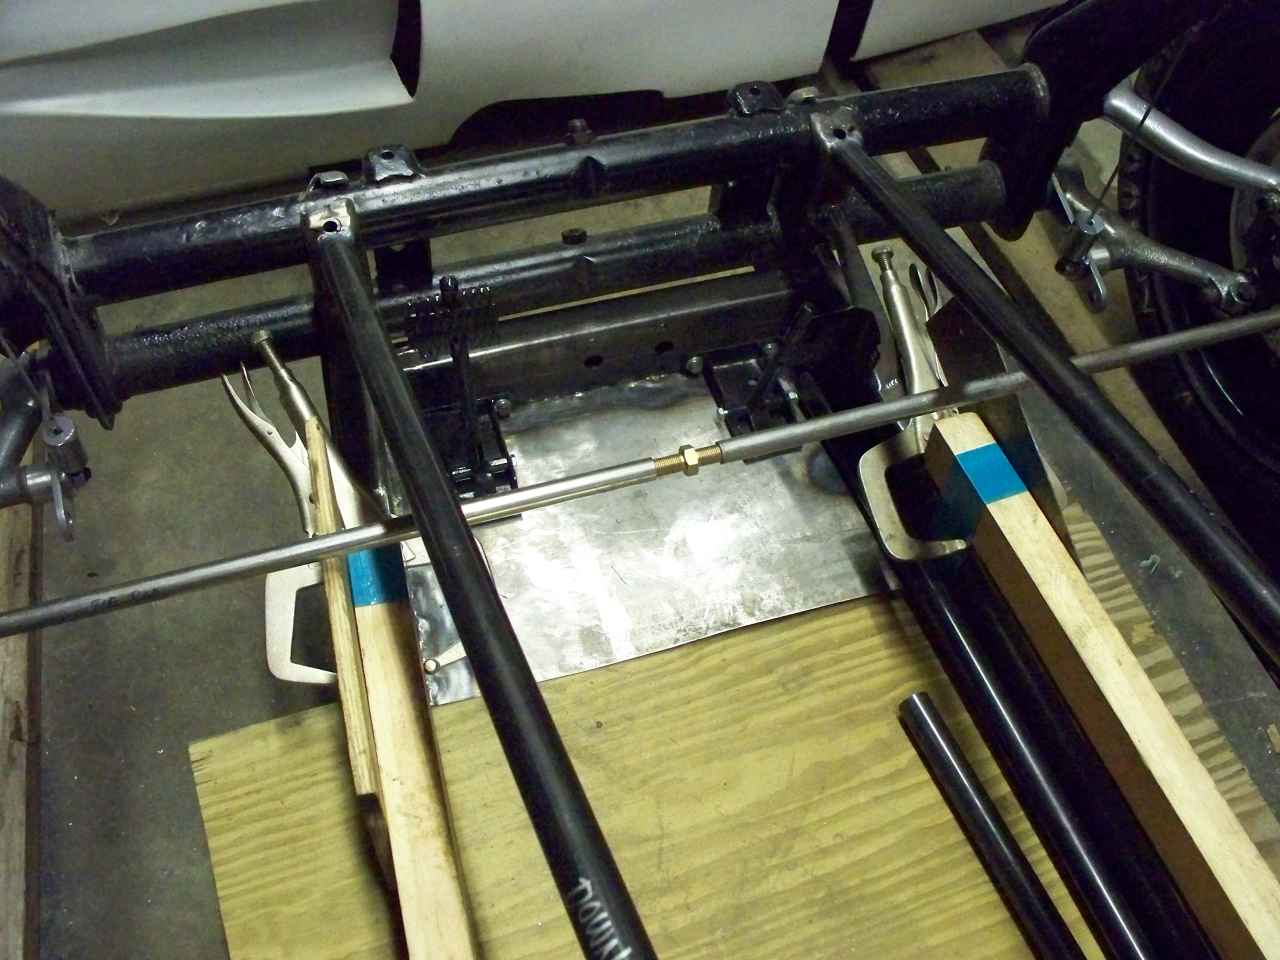
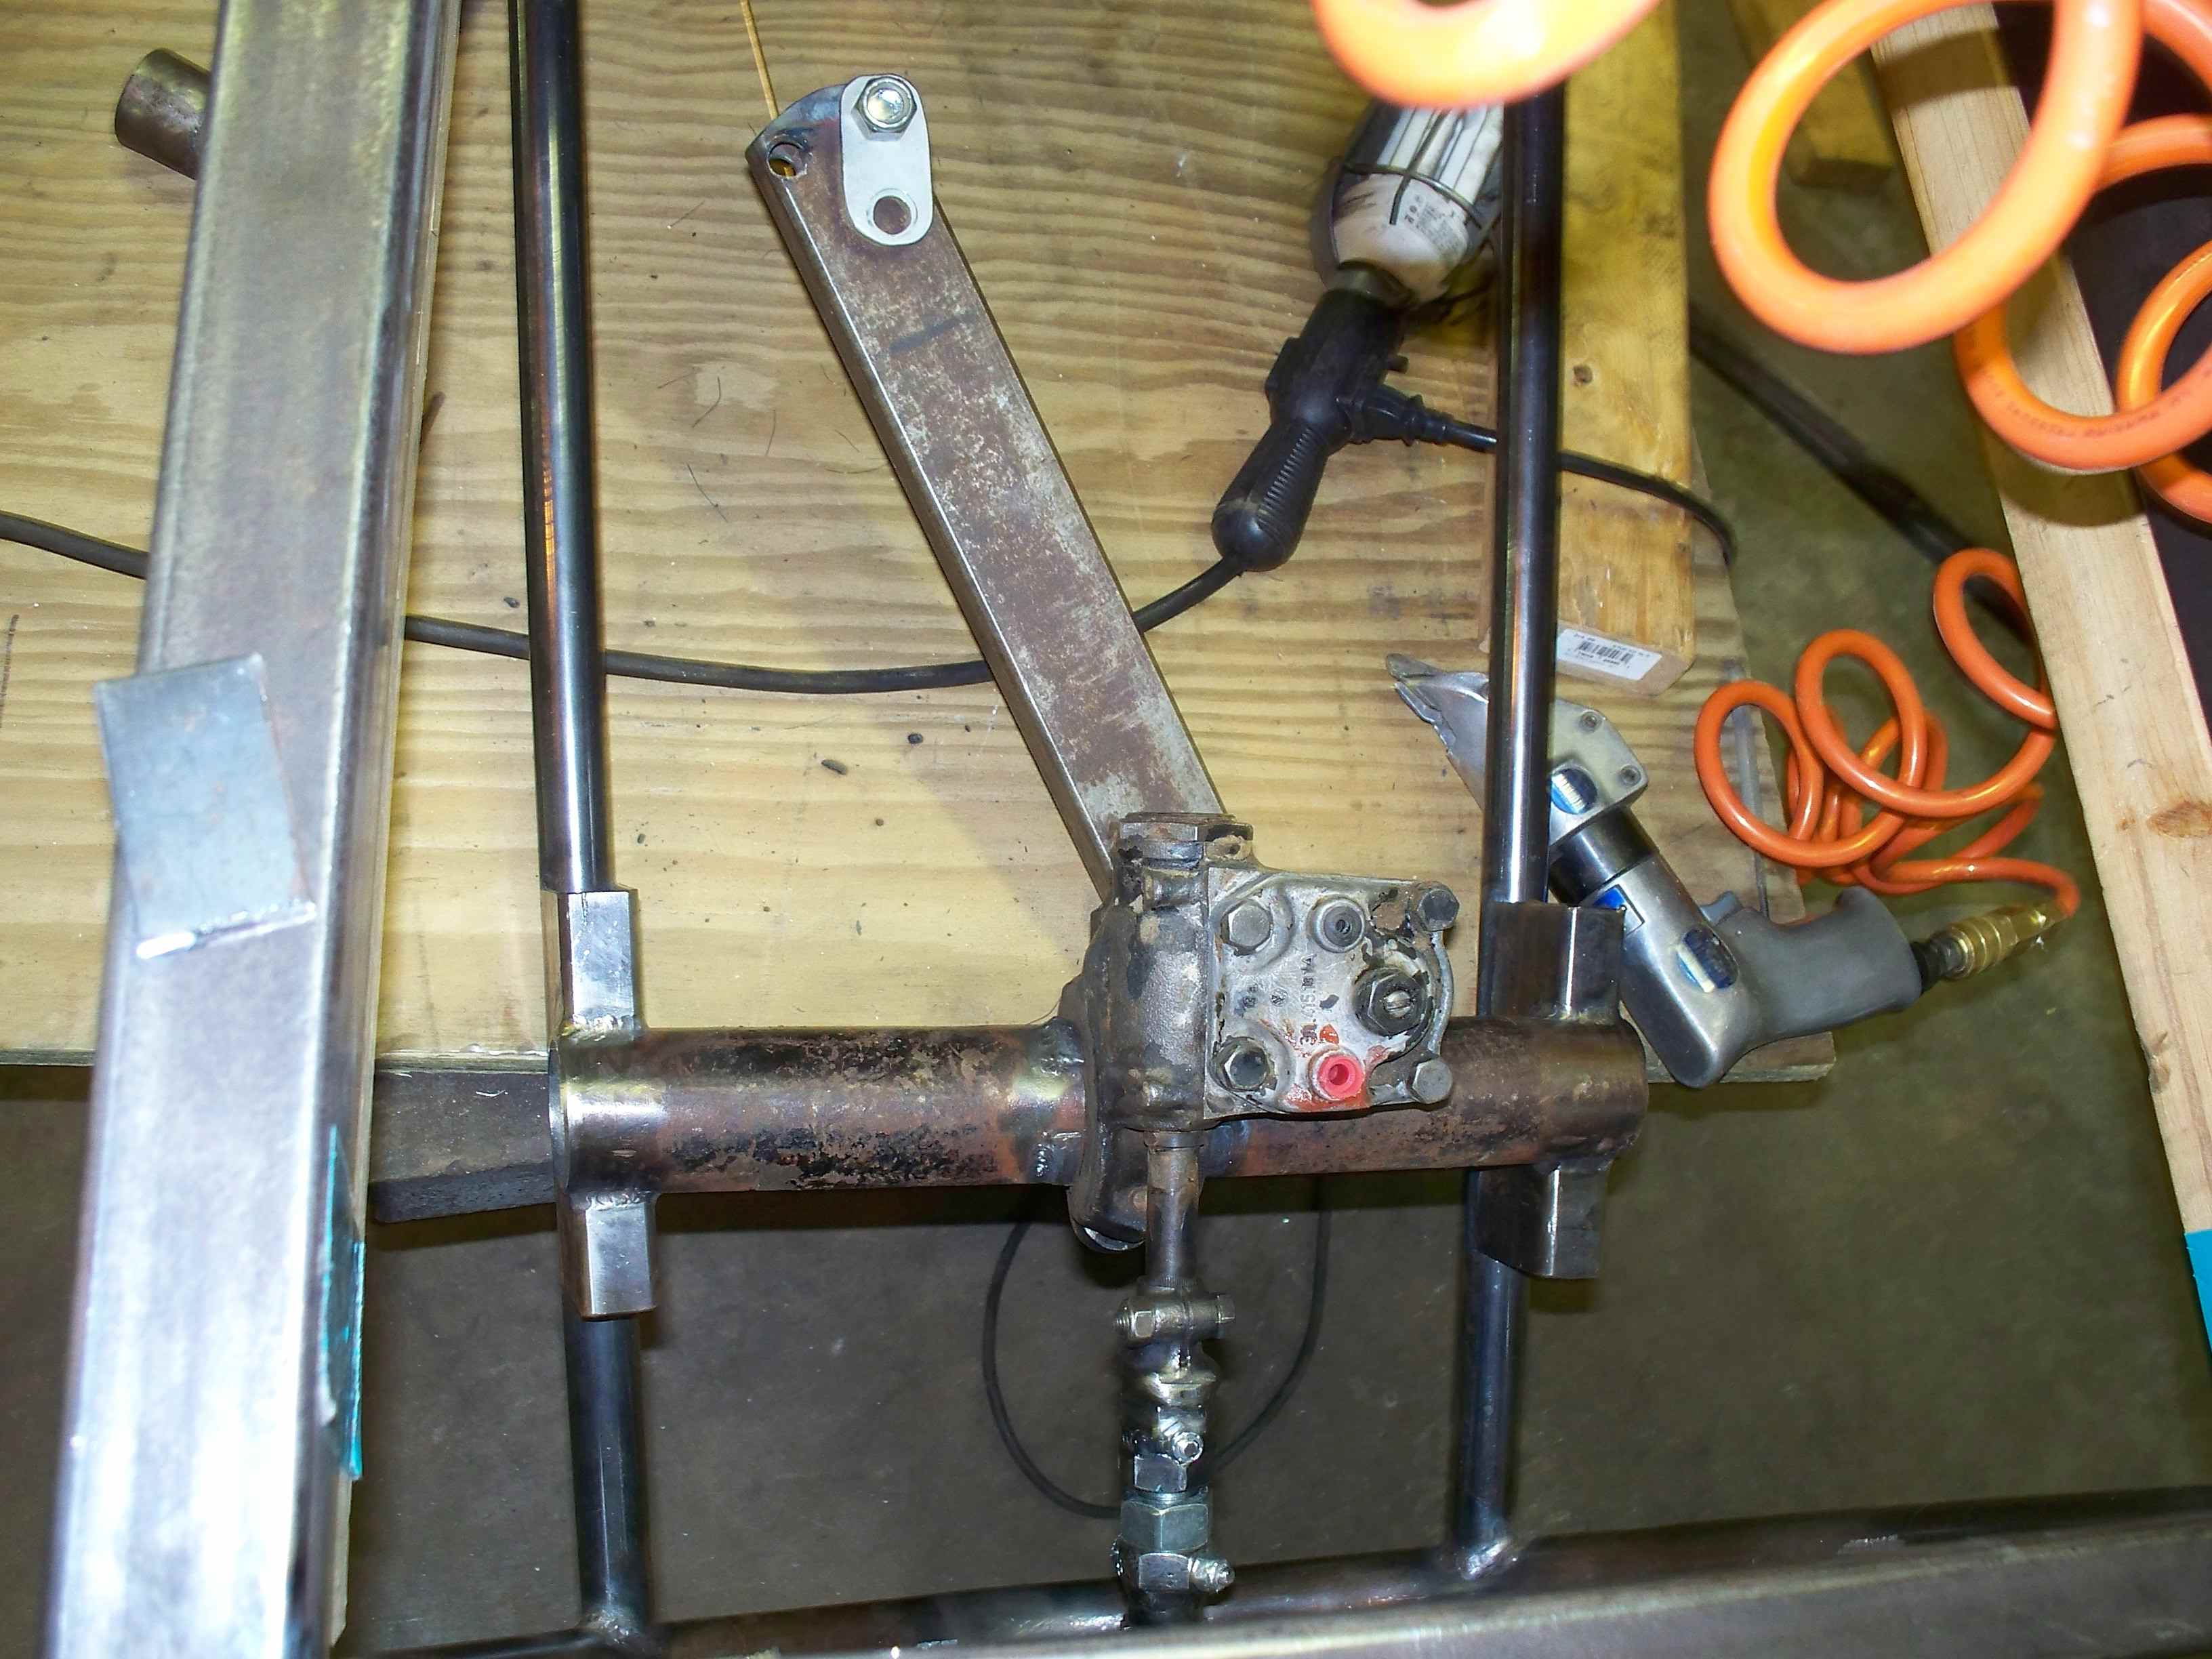
Here, we're deciding exactly WHERE to mount the steering
box and how long the pitman arm needs to be
(note jack stand supporting weight of steering box - the board is setting the
distance down from the upper bars)

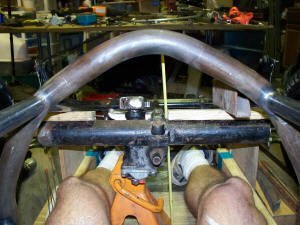
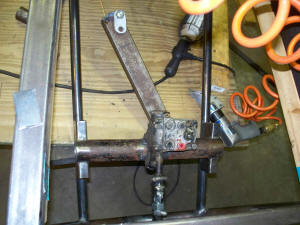
Steering box has been positioned and welded in - the
pitman arm has been cut and set up for the tie rods


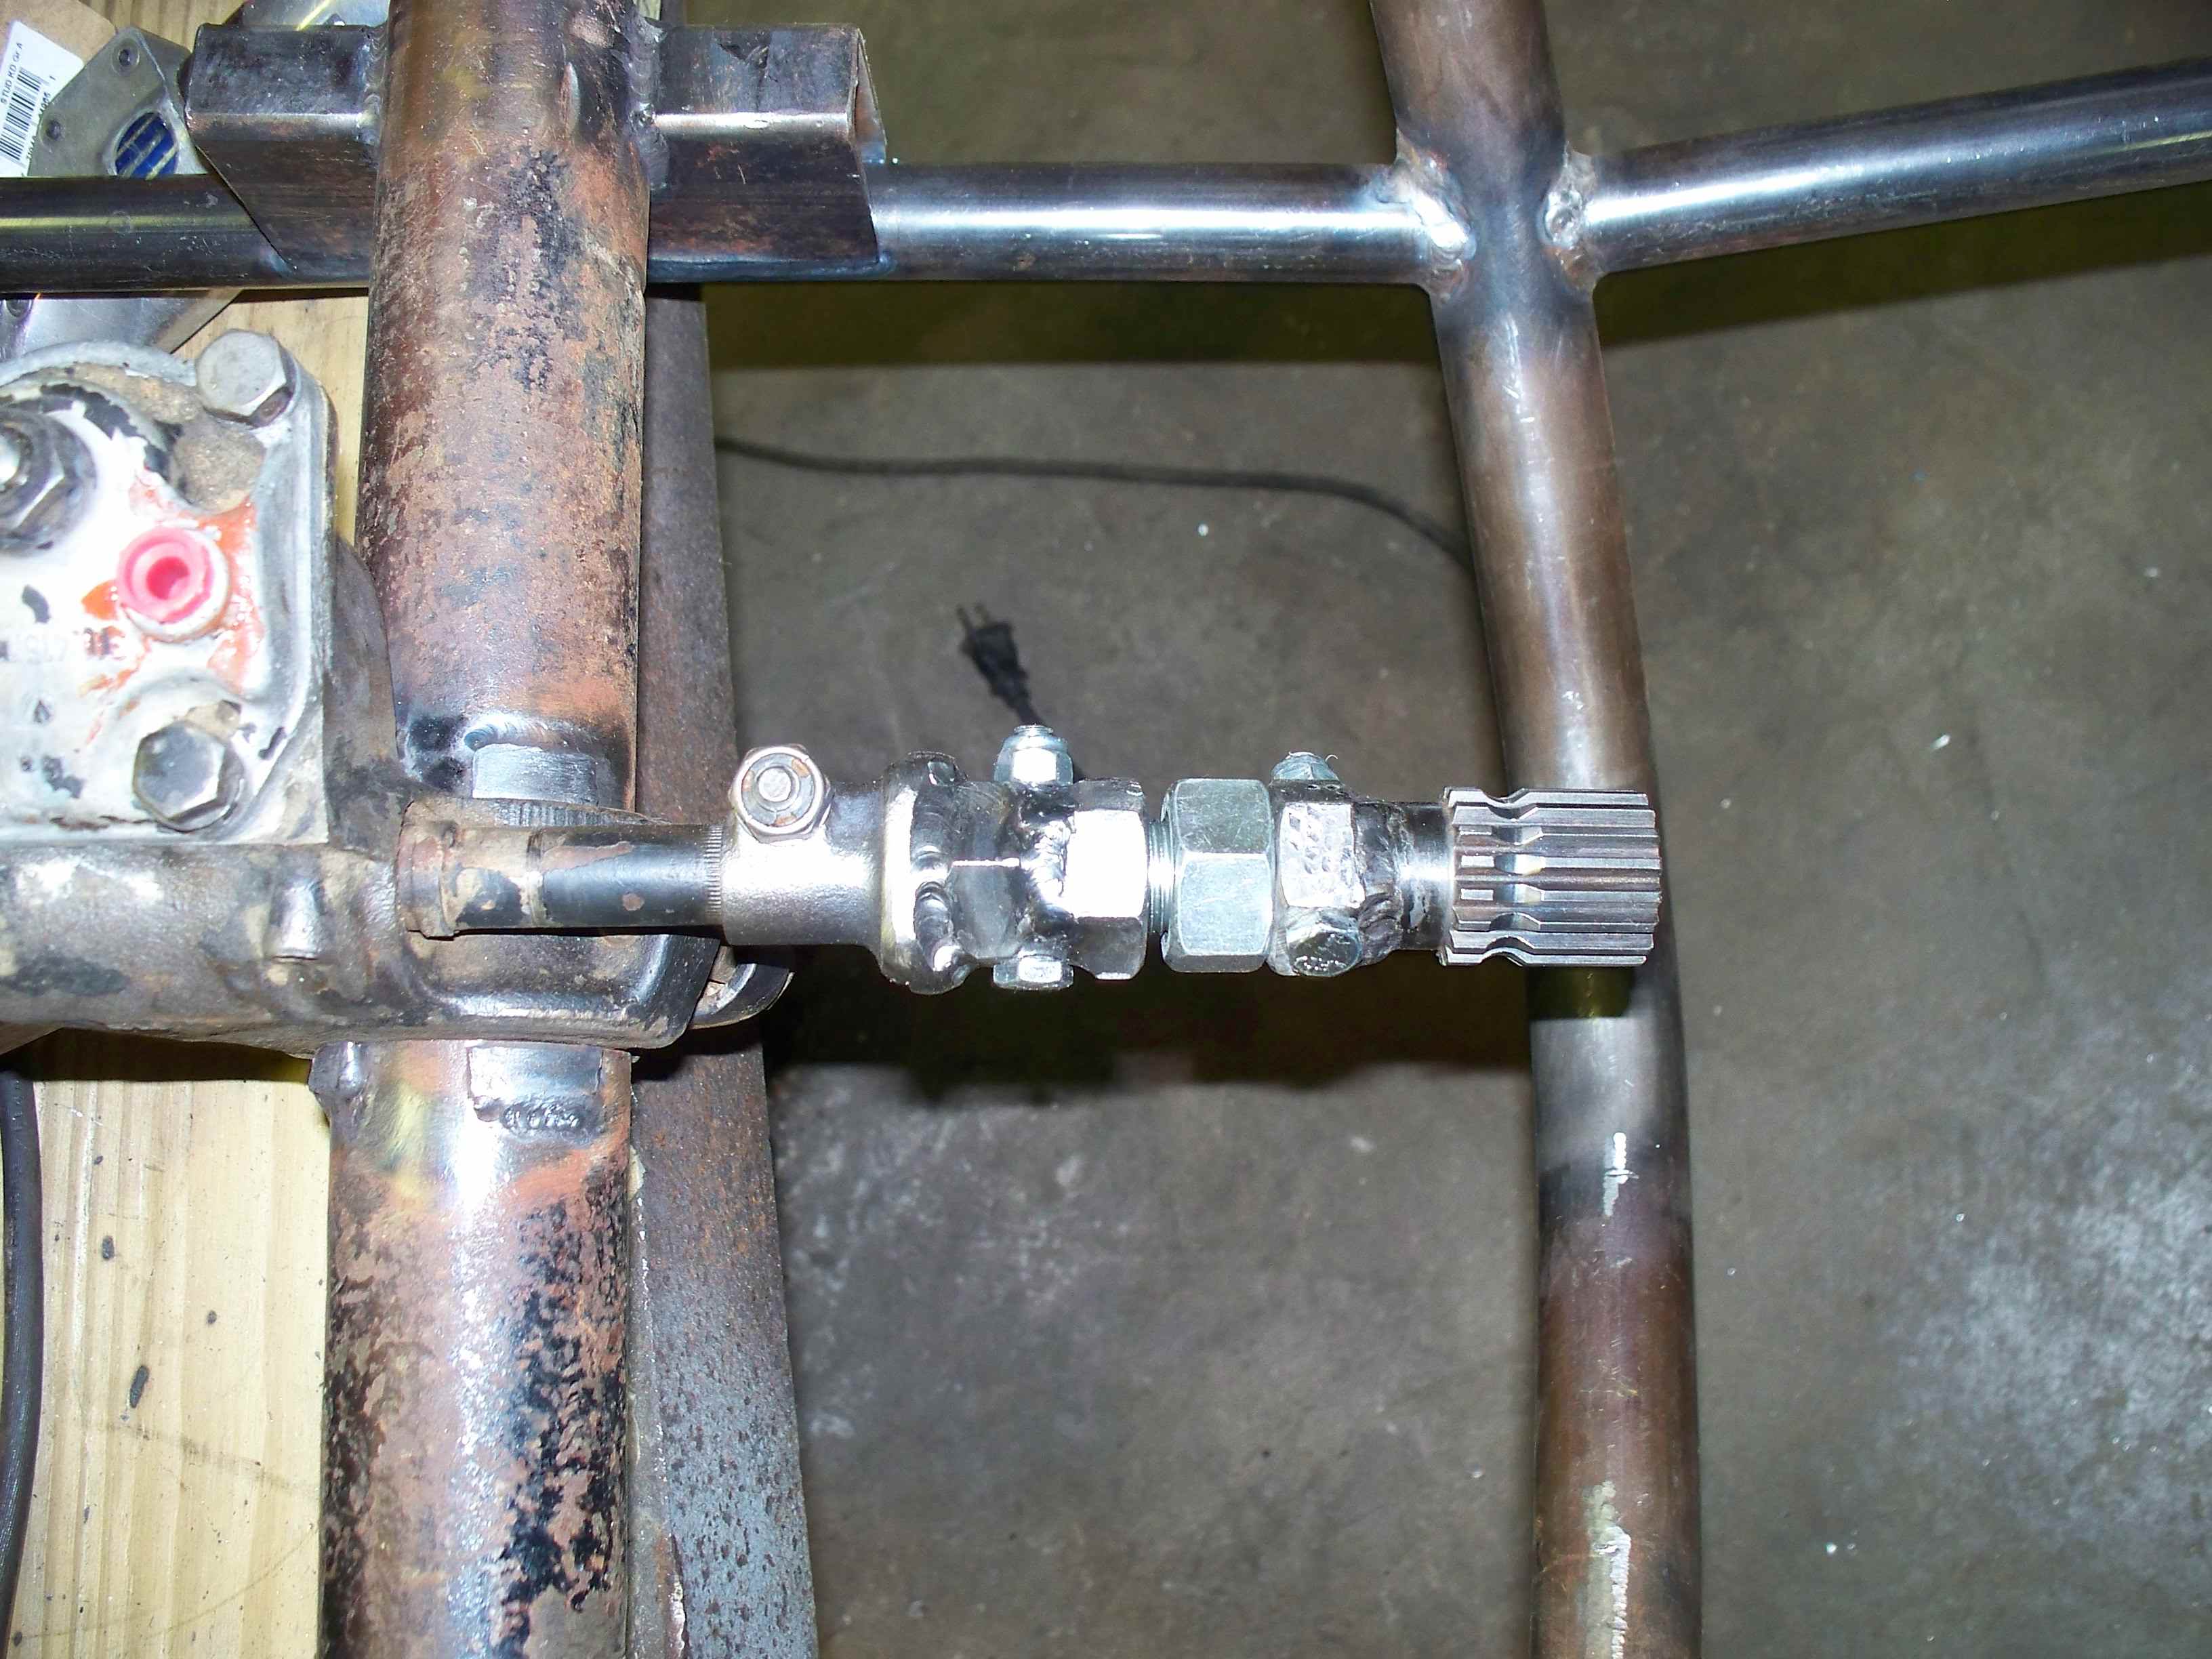
So, now we need a way to mount the steering wheel - this is
the quick disconnect adapter - I had the chassis
upside down again to weld some tabs beside the steering box to keep it from
moving side to side.

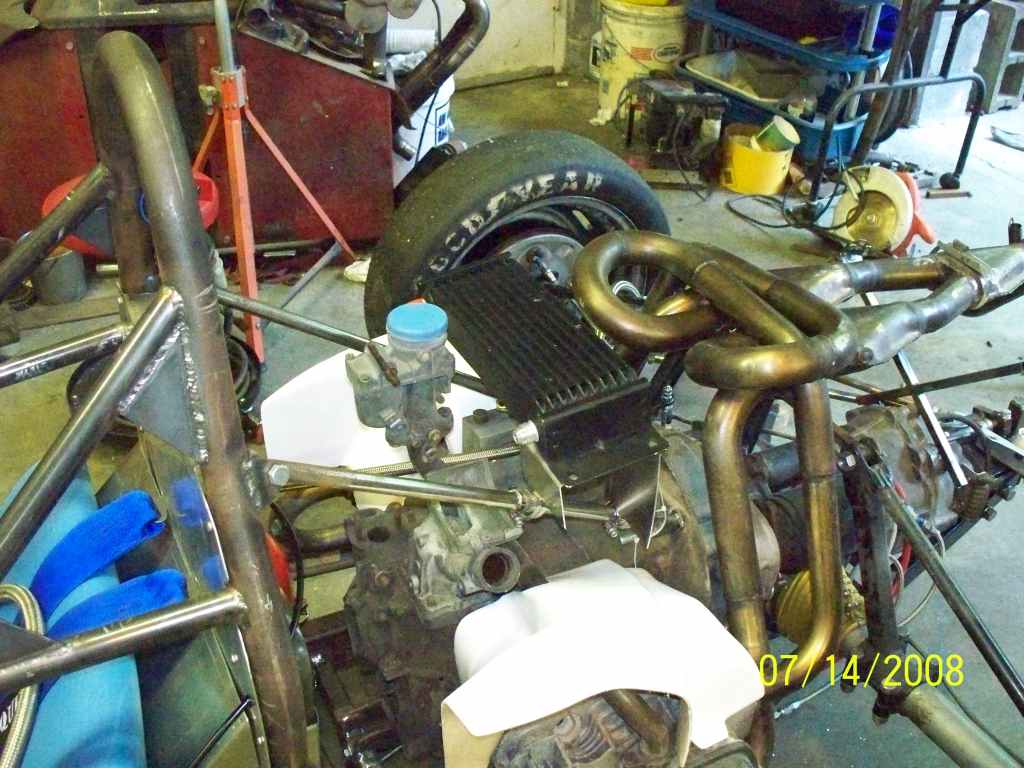
Fan housing sits on engine 'plug' to support bodywork during
fastener location (Jim is admiring his work :-).
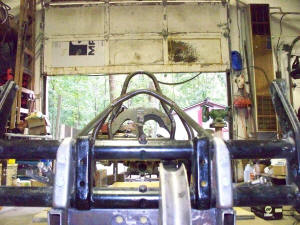
A nice shot showing the symmetry of the roll hoops (not bad
for amateurs <g>)


We finally finished the bodywork fasteners and removed the
fan housing.
Then we decided on an oil cooler location and fabricated a mount for it.
Some pictures of the lower frame and side protection bars


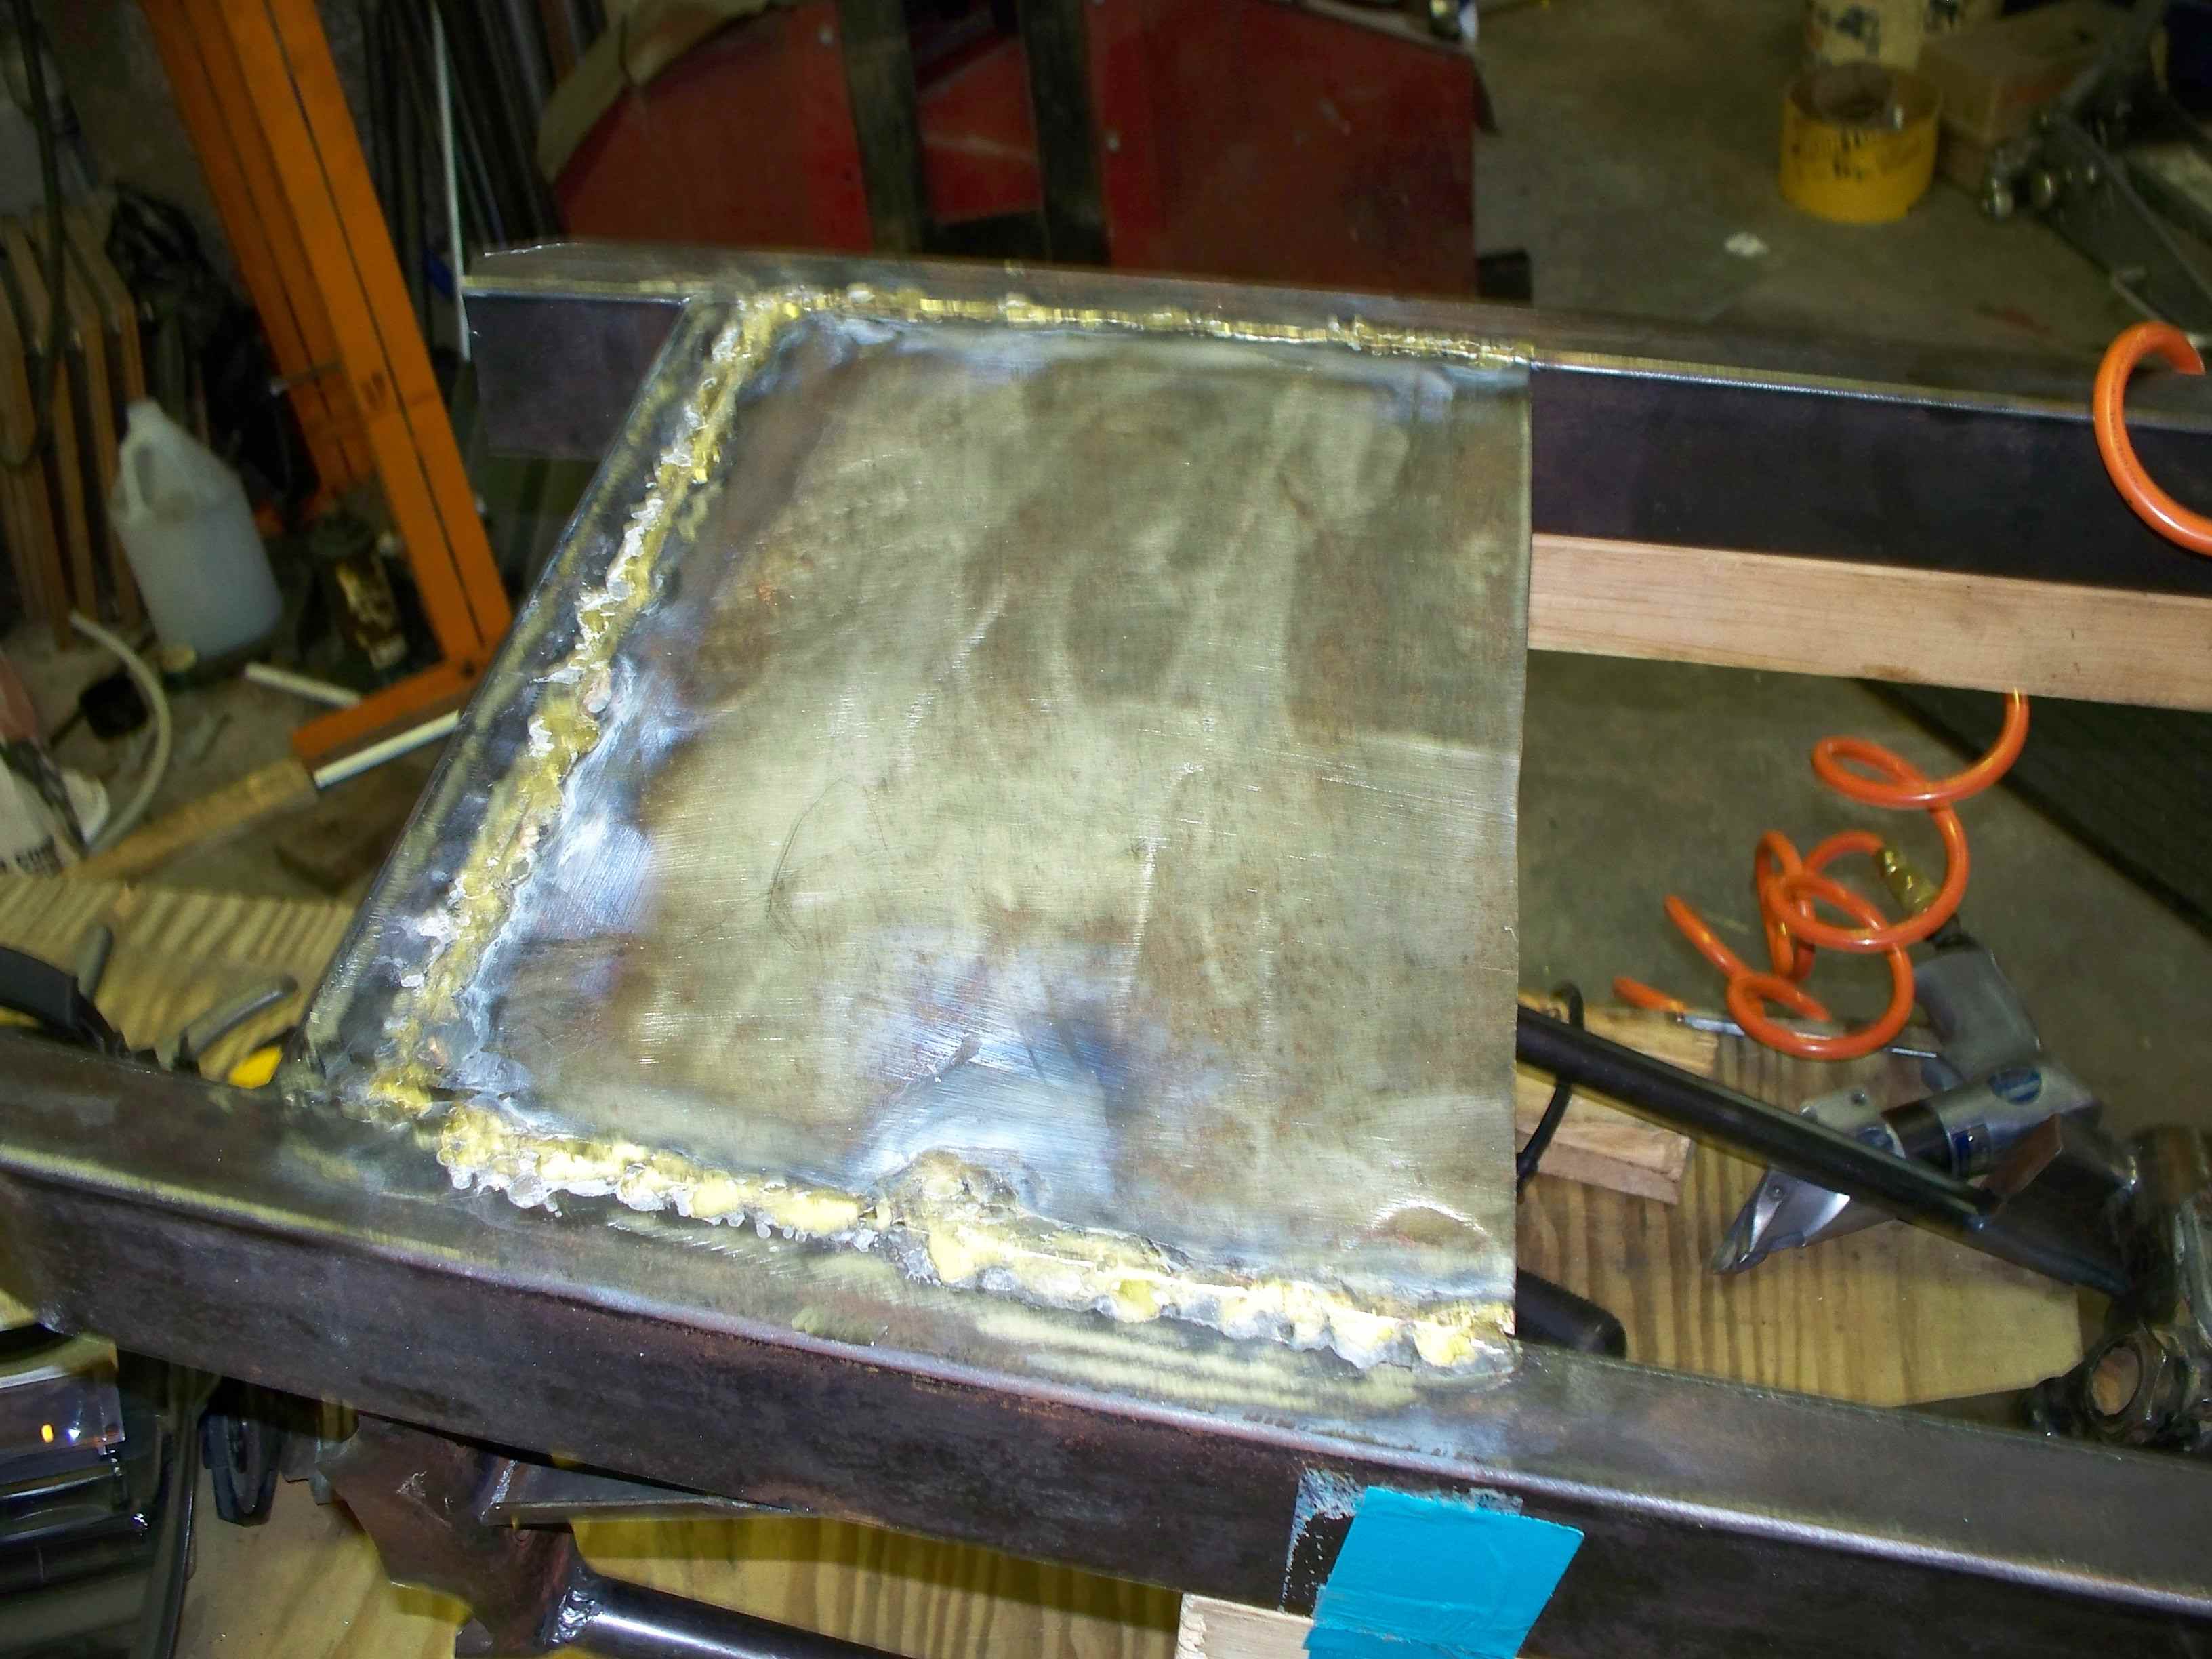
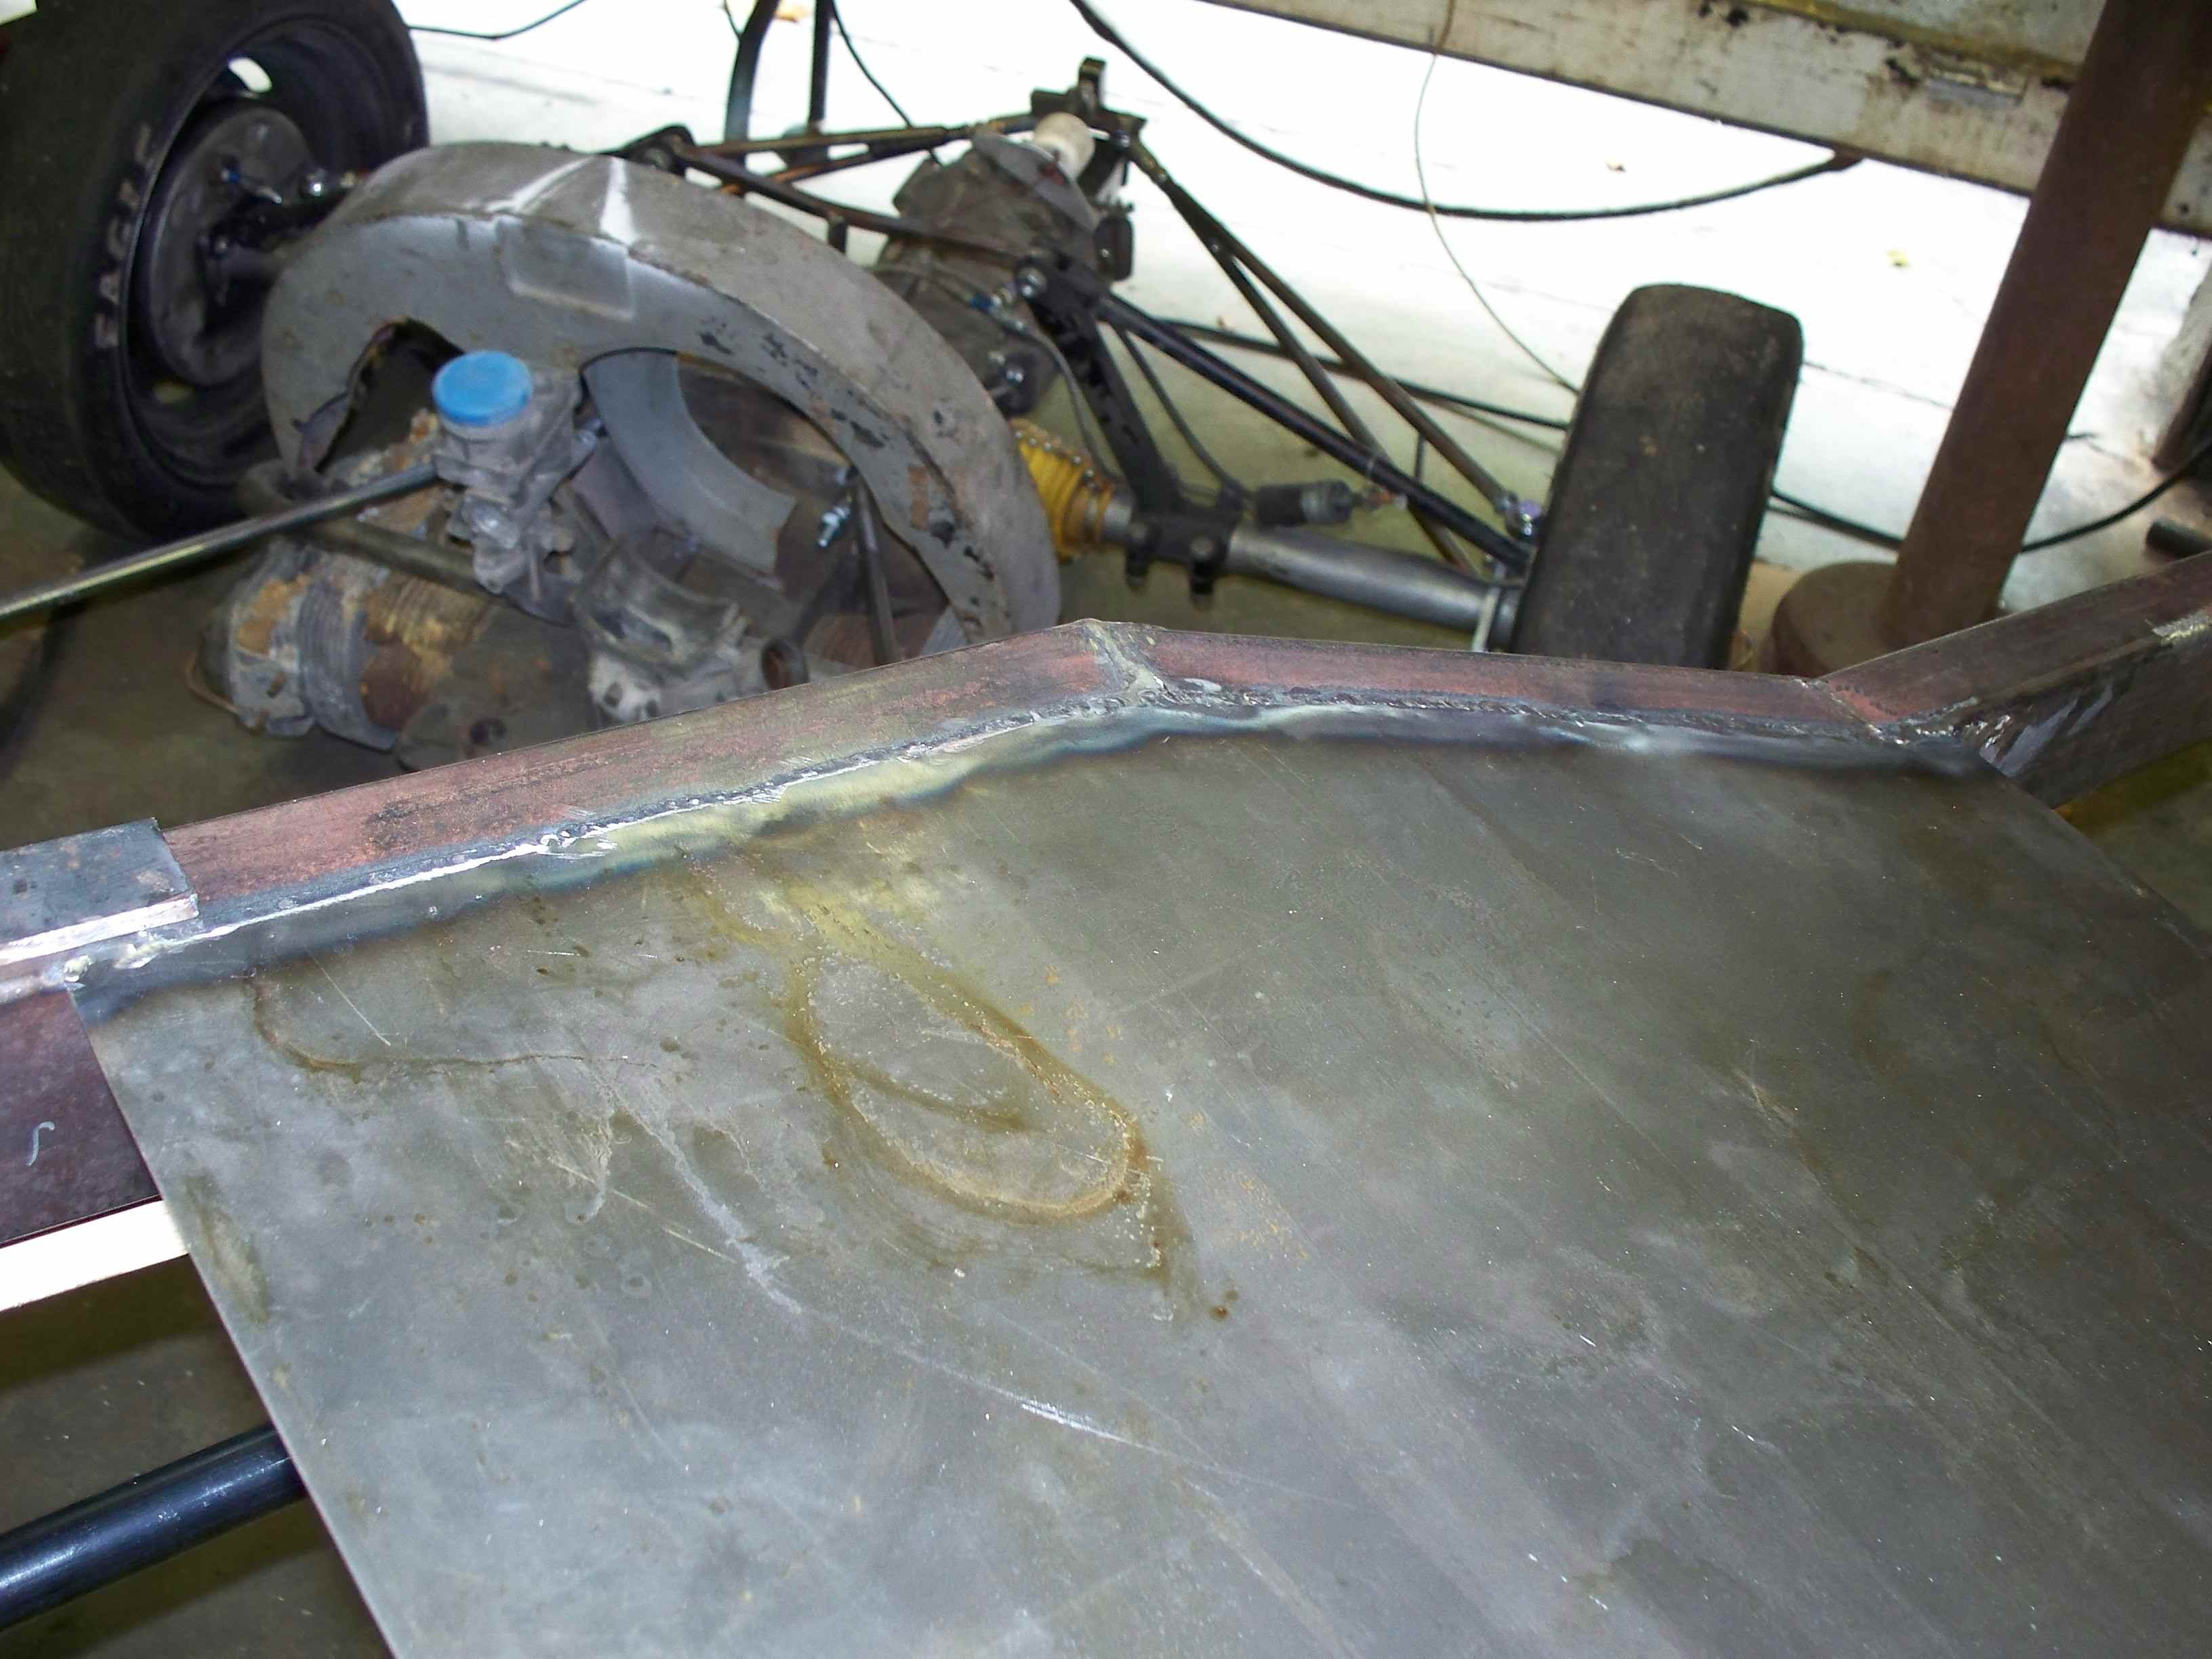
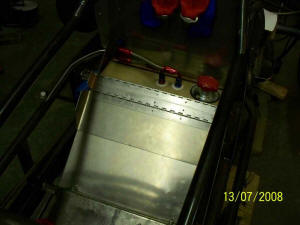
One of the last things I did was fabricate the belly pans.
The steel foot and fuel cell pans are welded in - the aluminum 'master' pan will
be riveted to
the sides of the frame when we're done with all the welding.
The chassis is turned upside down to access some of the
tougher weld joints.

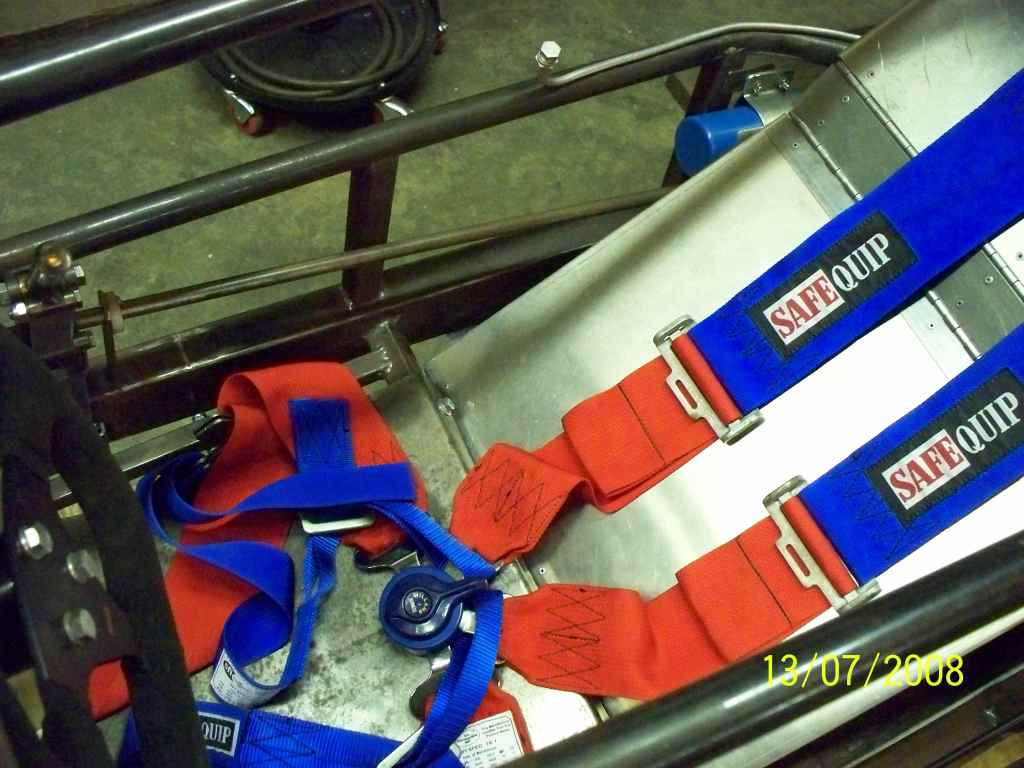
The seat belt supports go between the front and rear butt pan
supports.

foot well pan
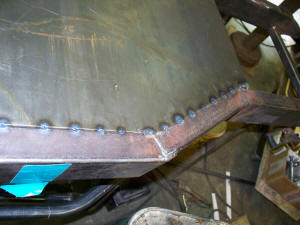
The cell pan is 'spotted' in.
Seam weld is now complete
And, finally, the aluminum is 'applied' in 2 pieces
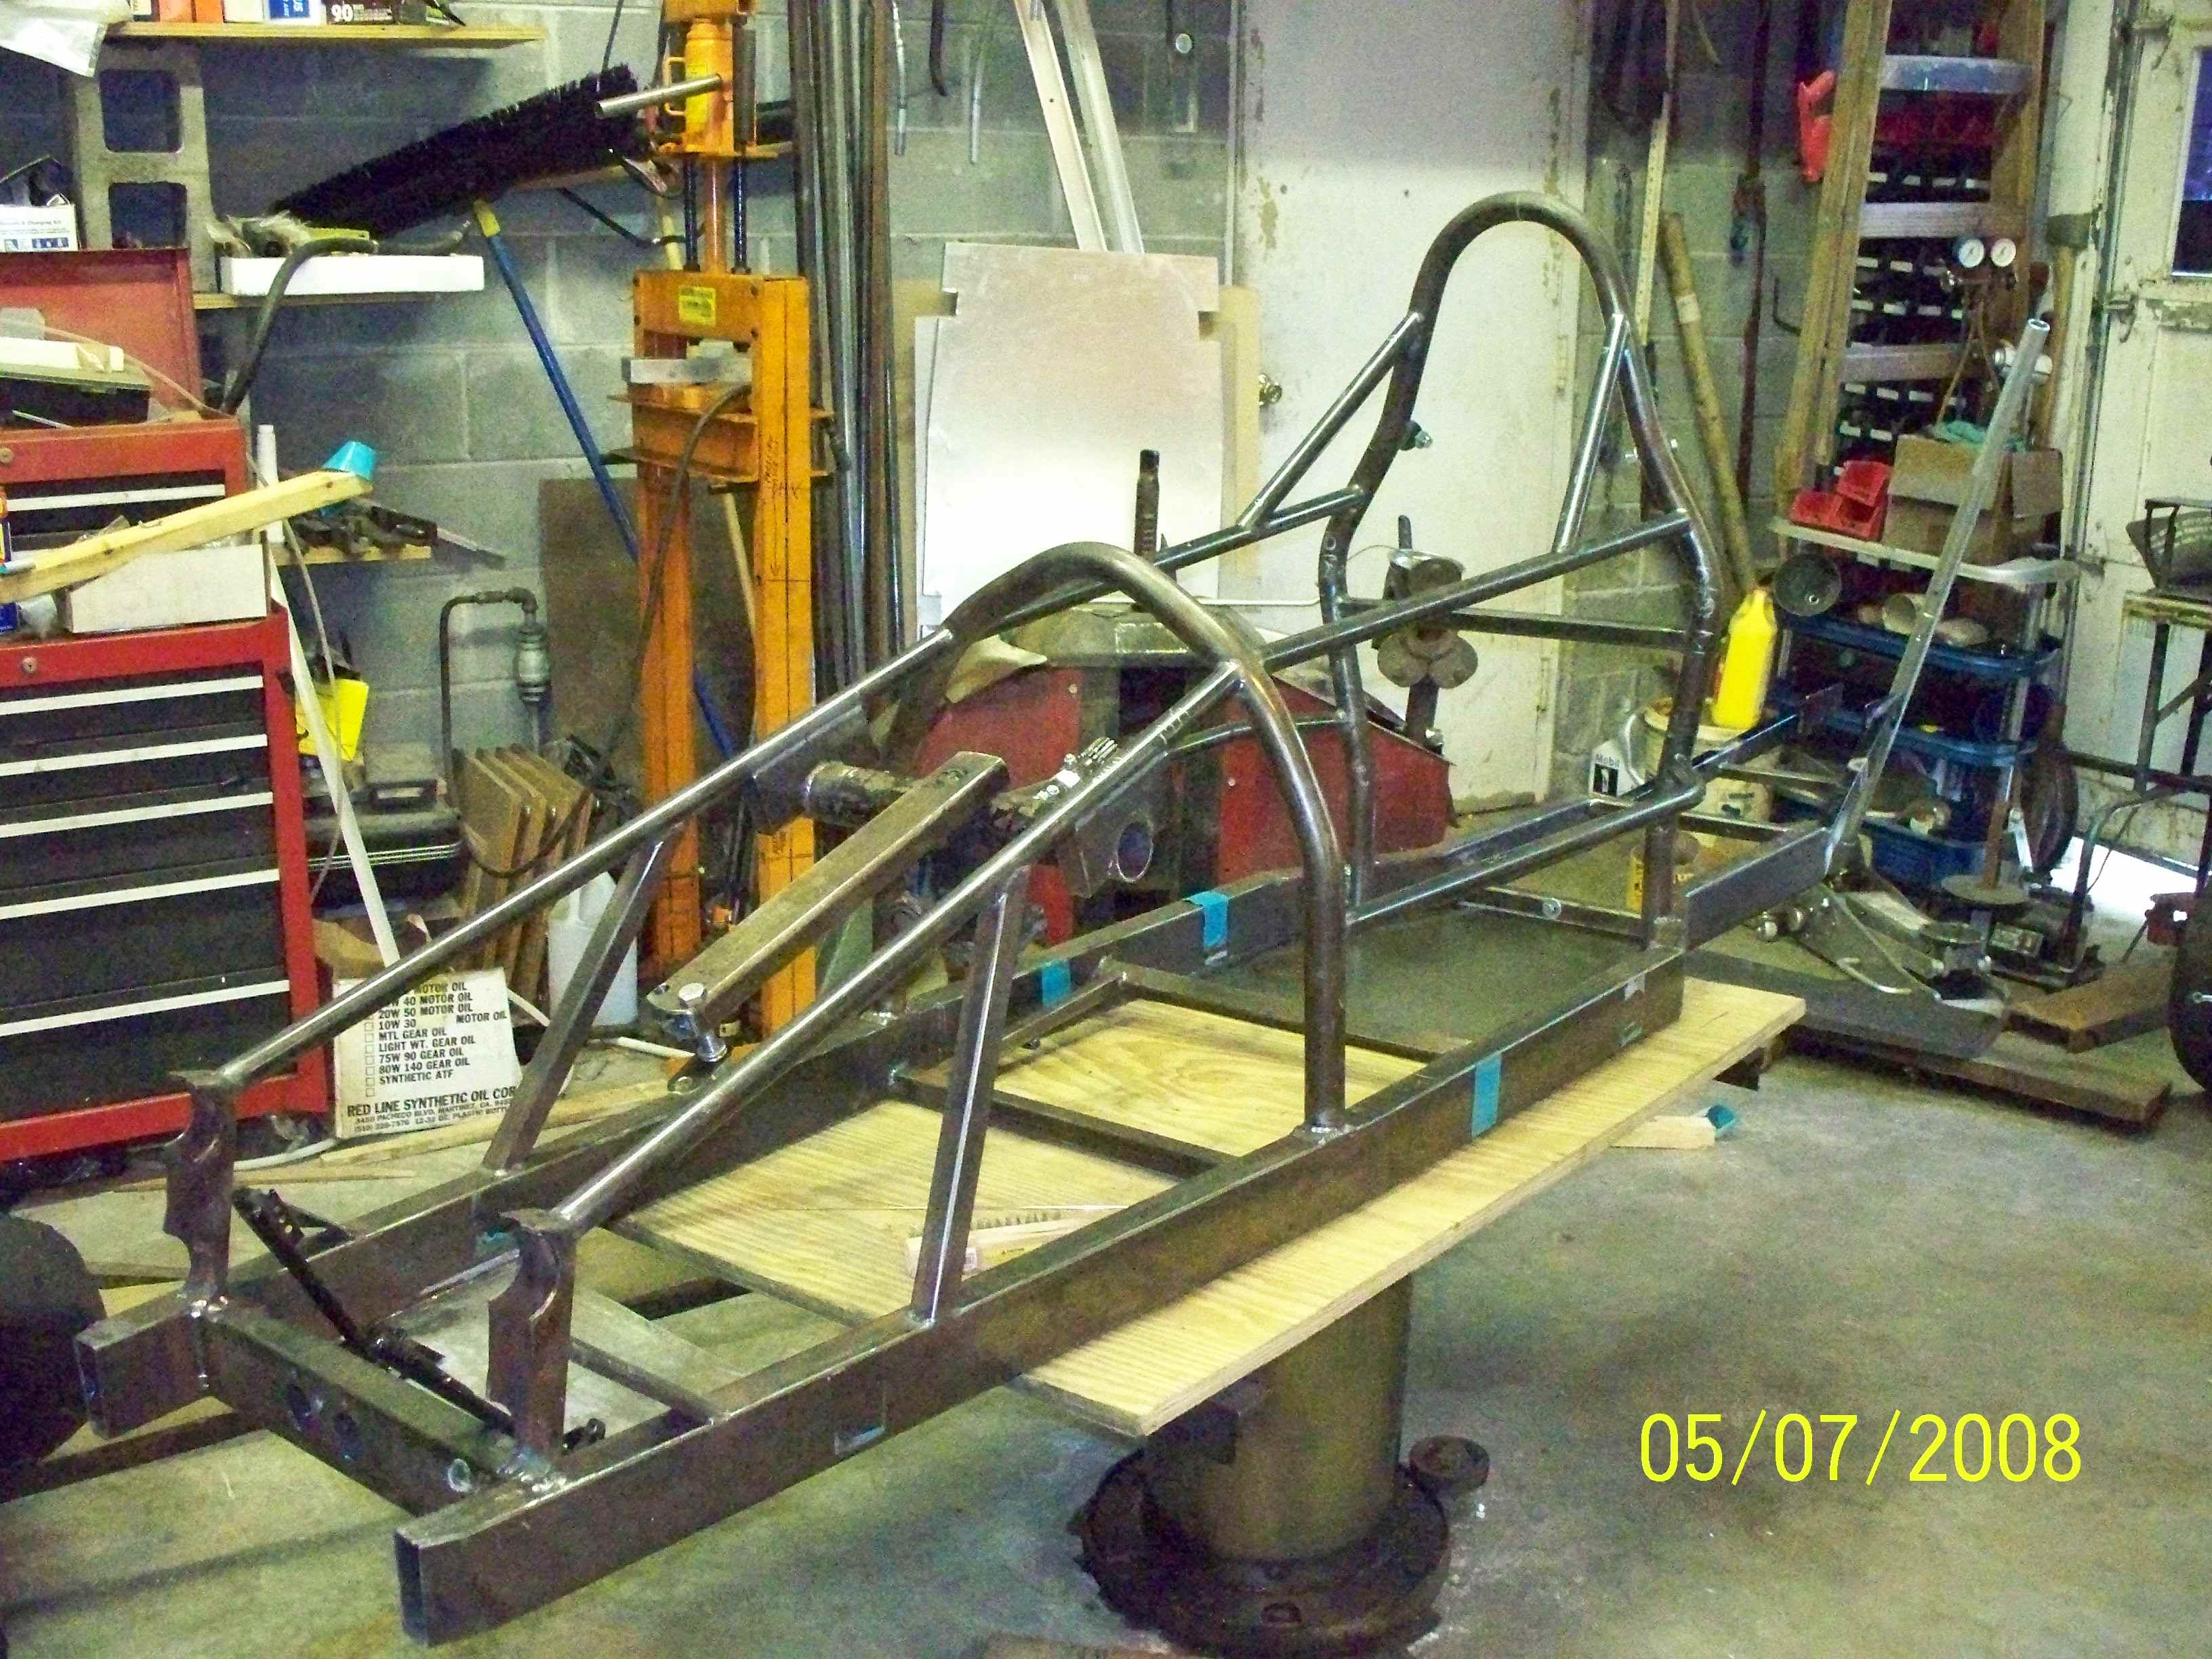
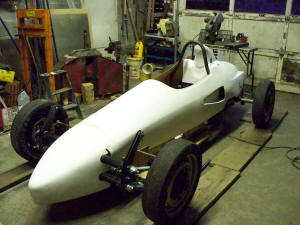
Here's a few shots that I used to submit the homologation
papers - it shows more of the almost completed car.


VROOM VROOM!

Rather than make this page bigger and
bigger, please continue to PAGE 2 (if you so
desire).

.JPG)
.jpg)
.JPG)