Racer's Wedge - SB-1, Silver Bullet
version Page 3 - reassembly

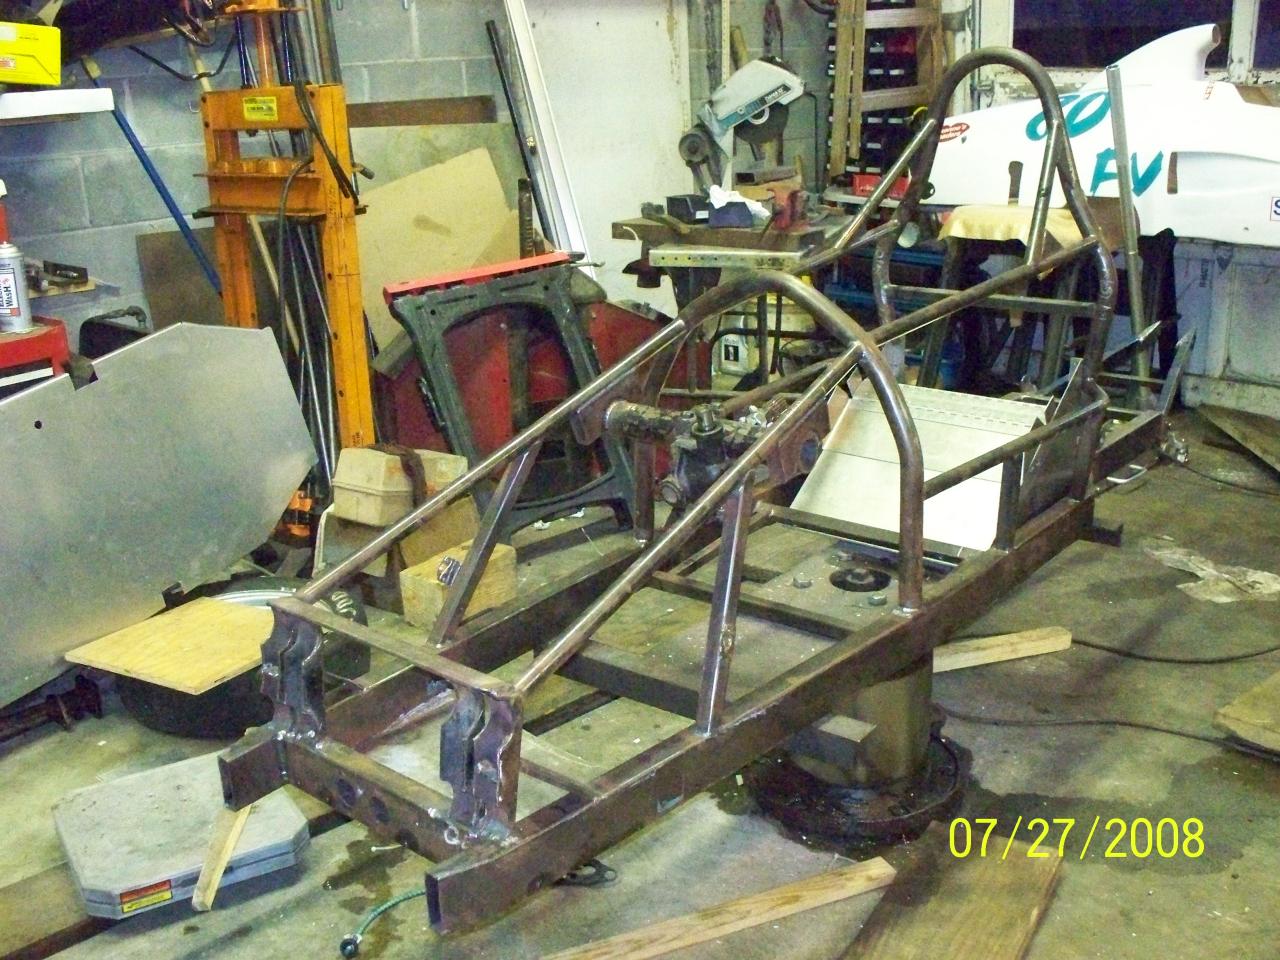
After the Road Atlanta test, we decided to go ahead and
powder coat the frame - I did need to make a few modifications before the
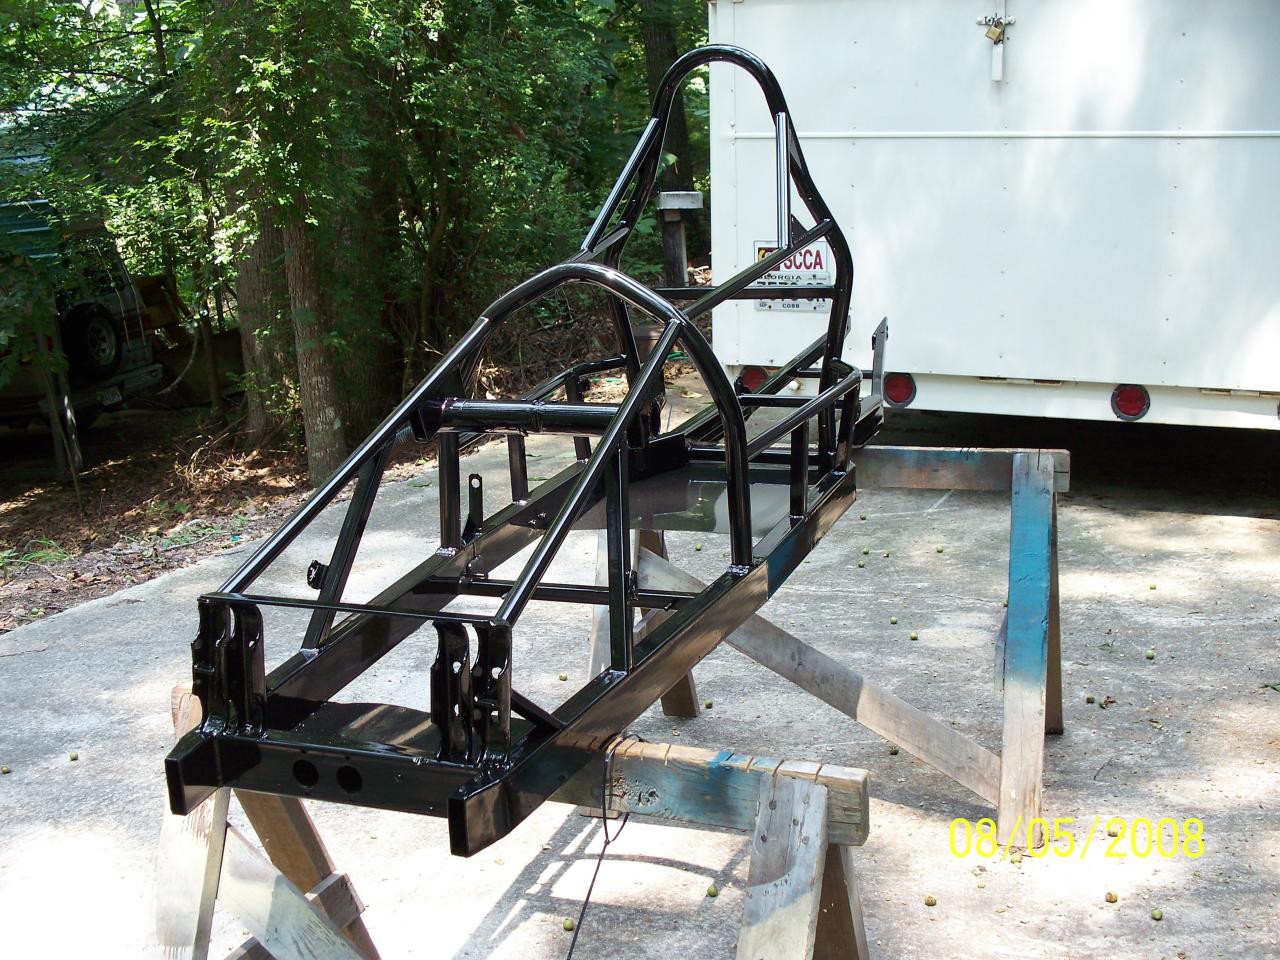
process, but the end product would look MUCH better. This is the final
frame after all mods, just before it left for Lithia Powder Coating to do its
magic. The mods required a complete removal of almost everything anyway.
The clutch cable pulleys had to be relocated, the seating position needed to be
changed and I changed the way the front beam bolts to the car to make it easier
to mount the nose.
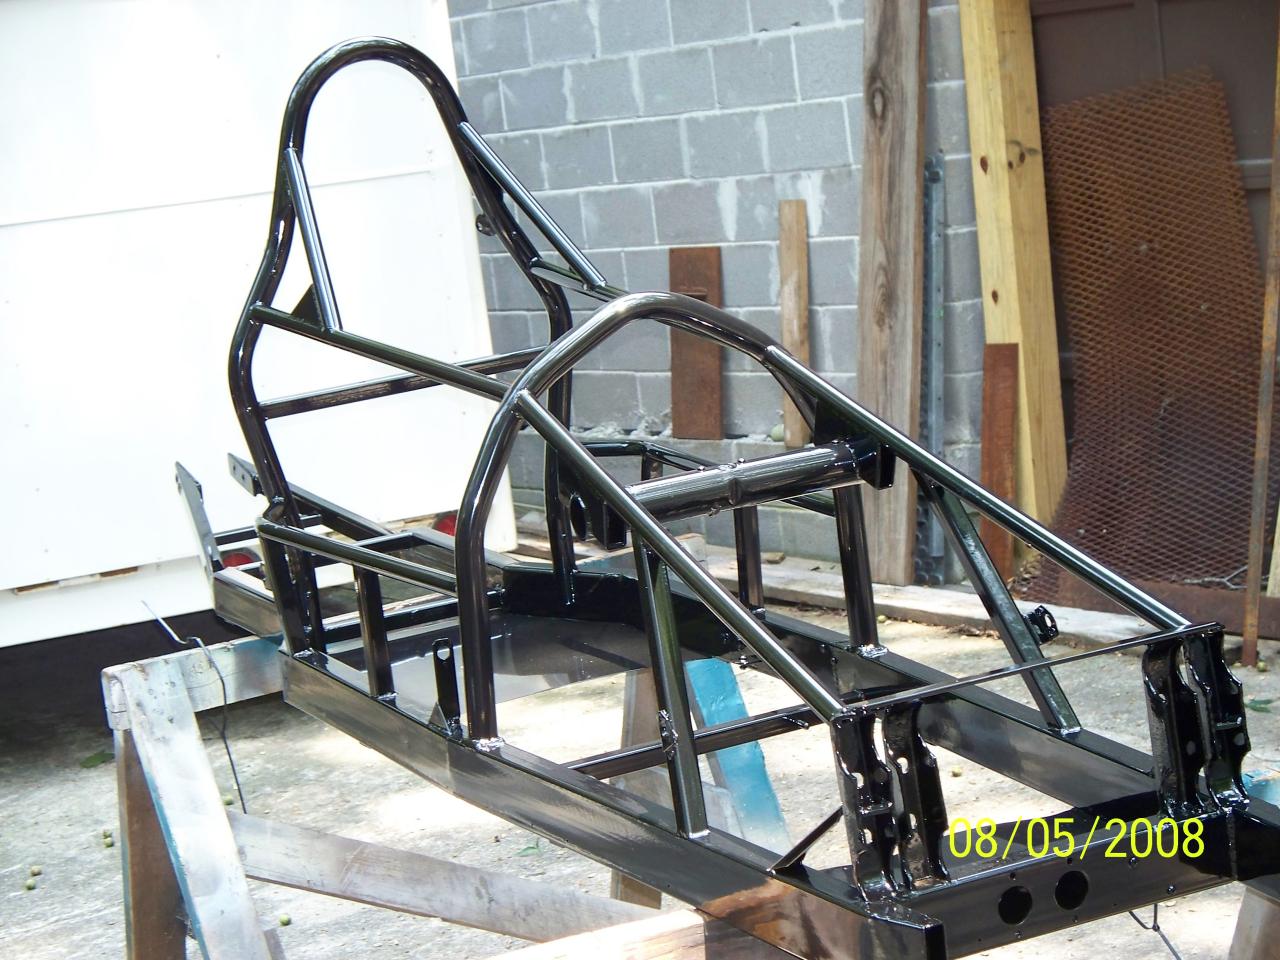
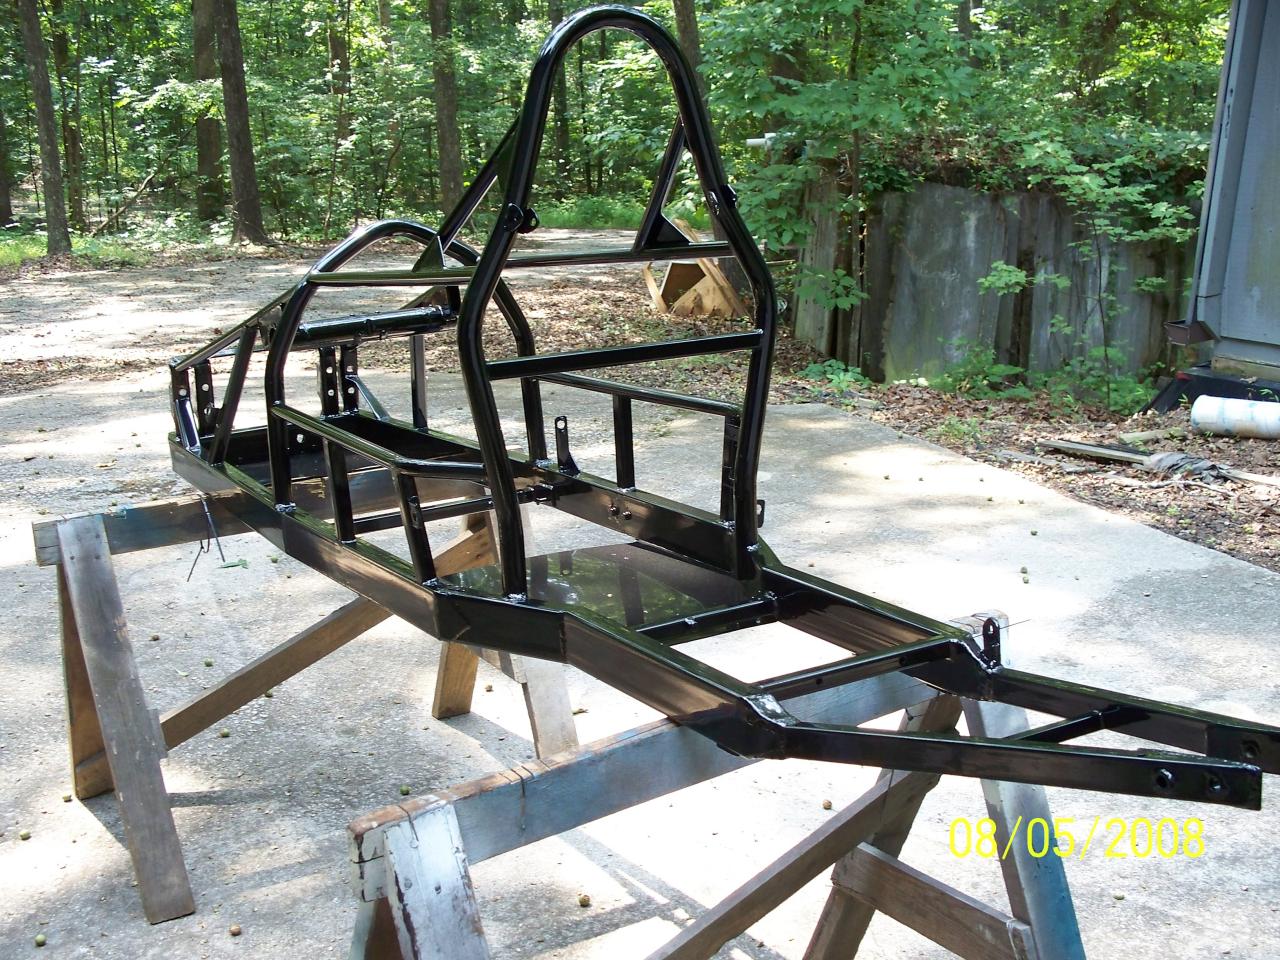
When the frame got back home, it REALLY DID look nice <VBG!!>

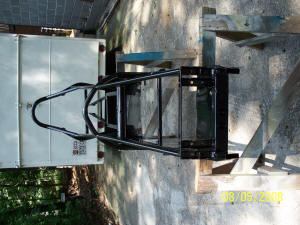
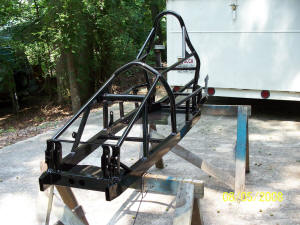
 The basic frame - which, BTW, weighed in at 112 pounds.
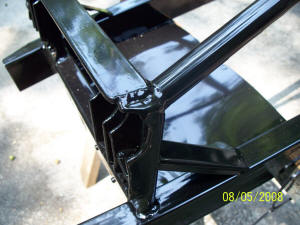
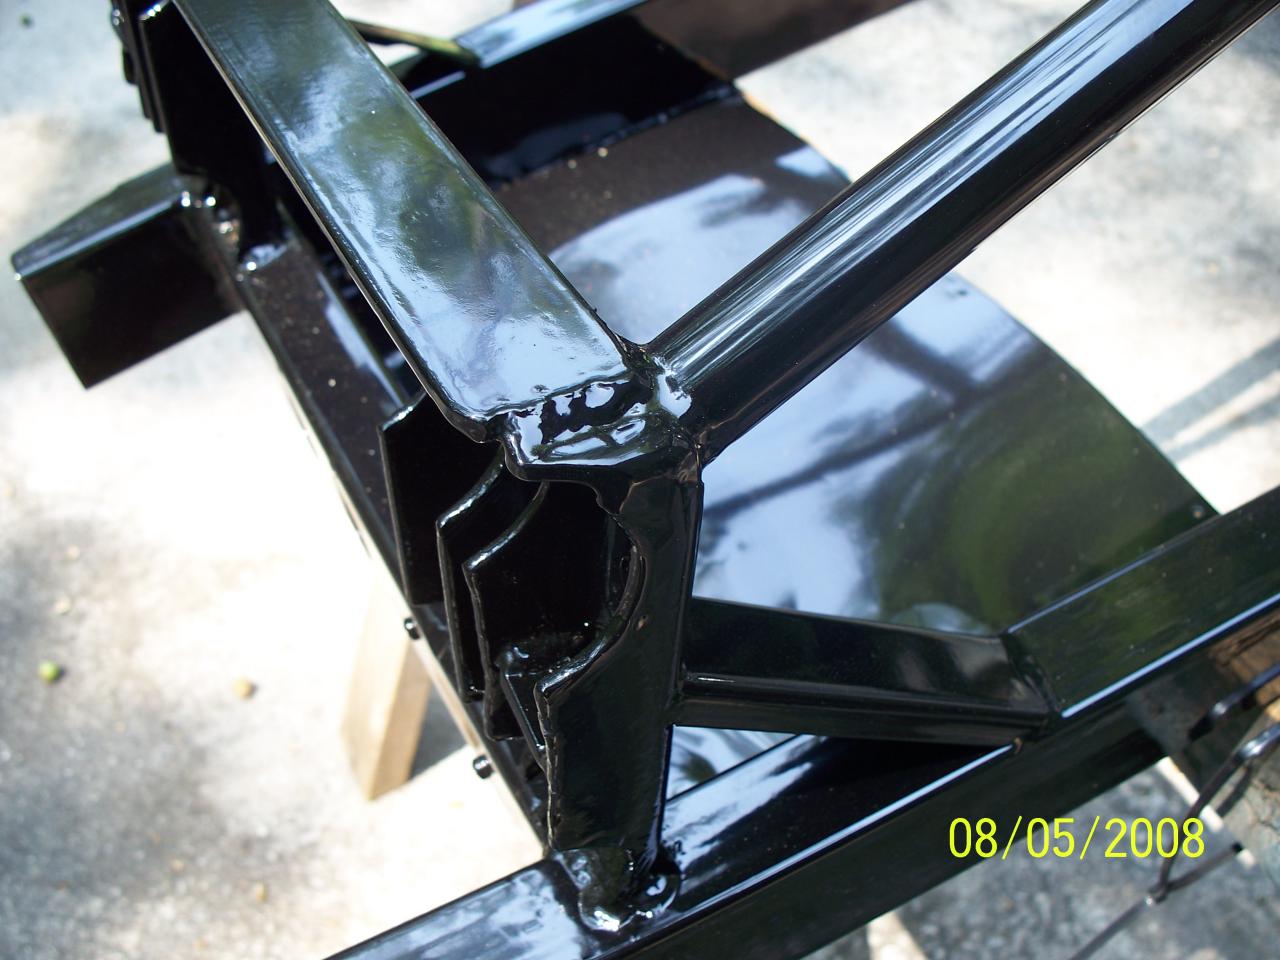
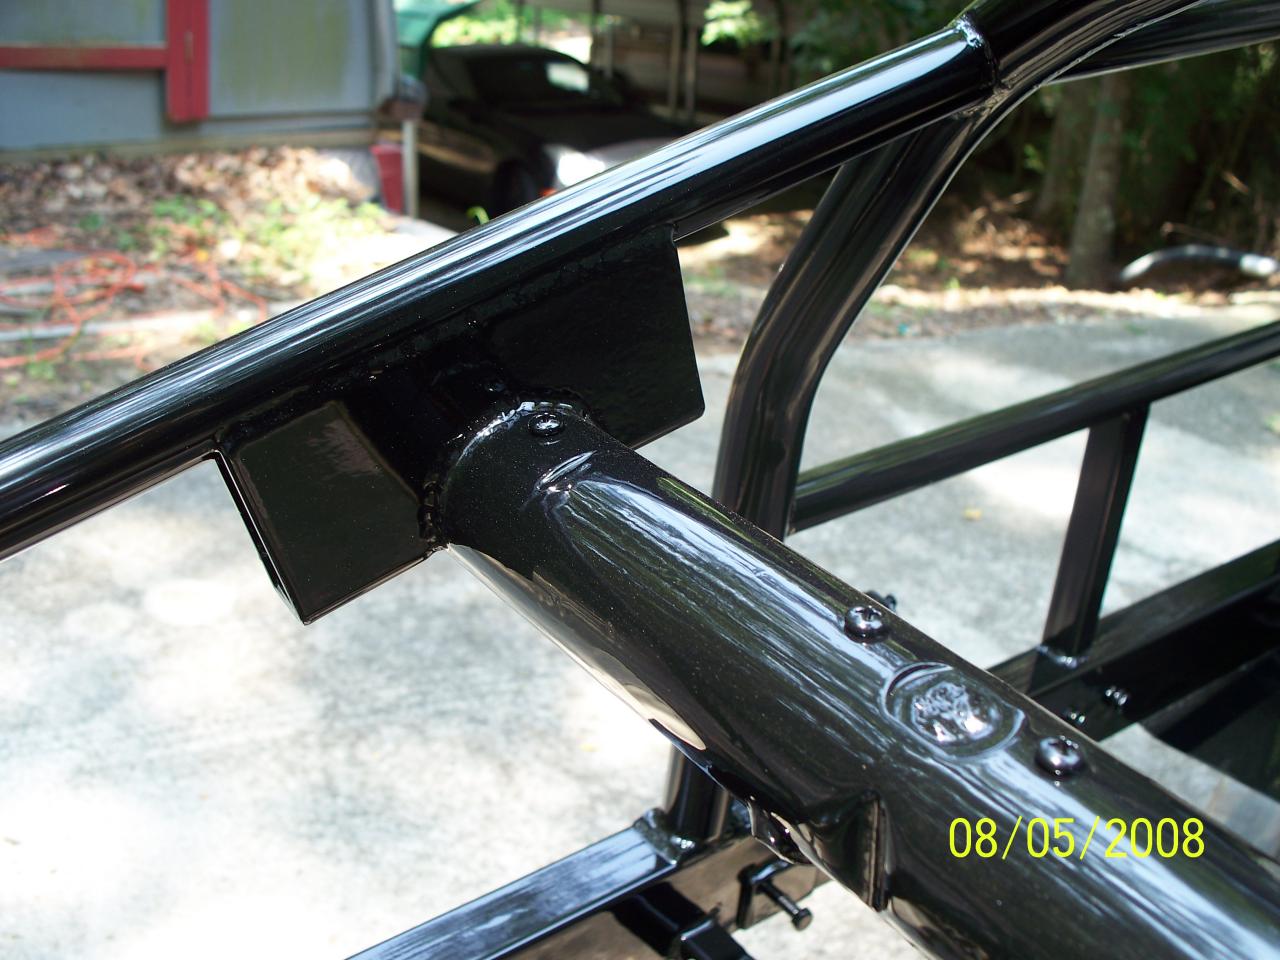
A couple closeups of the shiny new coating.
| Front beam mount |
Steering box mount |
Nice reflection off the bottom of the cell pan |
 |
 |
 |
NOW - to get it all put back together ... and, I guess
PAINT the bodywork the PROPER color.
I have also received my official Homologation Certificate
- when I get it back together, I'll be able to get the log book started and go
through the FIRST TIME TECH.
Aug 14, 2008... The car is mostly back together now
- here are some shots ...
_small.jpg) The
dash was reconfigured and remounted and the wiring cleaned up a bit.
The
dash was reconfigured and remounted and the wiring cleaned up a bit.
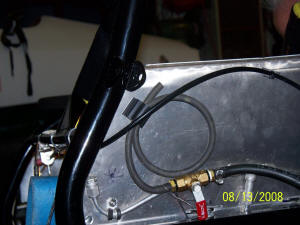 This shows the fuel test port. Hopefully it will work the way it should.
_small.jpg) The new dash configuration. The AIM display was too low for me to read
easily, so I took it off the steering wheel, then moved the dash forward (away
from me) so I would have room to mount it there at the highest point. I
was also able to squeeze the analog oil pressure gauge and the oil light up
there.
The new dash configuration. The AIM display was too low for me to read
easily, so I took it off the steering wheel, then moved the dash forward (away
from me) so I would have room to mount it there at the highest point. I
was also able to squeeze the analog oil pressure gauge and the oil light up
there.
_small.jpg) This one shows the PVC tube I tied to the upper brace to 'contain' the wires
from the dash area to the engine area. Sure does clean things up.
This one shows the PVC tube I tied to the upper brace to 'contain' the wires
from the dash area to the engine area. Sure does clean things up.
_small.jpg) This (barely) shows the caster spacers I made (at the junction of the top beam
tube and frame) as well as the 'new' method of mounting the beam. I
changed the way it was originally done to make it easier to get the nose on.
This (barely) shows the caster spacers I made (at the junction of the top beam
tube and frame) as well as the 'new' method of mounting the beam. I
changed the way it was originally done to make it easier to get the nose on.
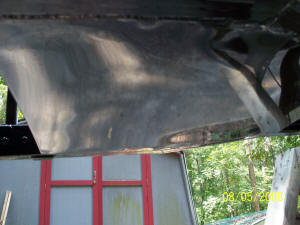
Some shots of the fiberglass fill required to clean up the
lines. The air horn was bolted to the body (still is) and there was quite
a gap. The main body is also made in 2 pieces that are spliced - the
splice junction is somewhat 'dirty' and needs to be cleaned up. Still not
sure if I'll try to paint it next week before CMP or wait till after.
_small.jpg)
_small.jpg)
_small.jpg)
 This is a shot of the modified pitman arm that allows me to tilt the steering
wheel down so that I don't murder my knuckles against the front roll hoop.
... hope it's strong enough!
This is a shot of the modified pitman arm that allows me to tilt the steering
wheel down so that I don't murder my knuckles against the front roll hoop.
... hope it's strong enough!
_small.jpg) This last one shows the side rails we made (from Aluminum) to cover the gap
between the body and the frame. The body tucks in just behind it. I
think it turned out pretty well ... after a LOT of sleepless nights trying to
decide just HOW to do it. :-).
This last one shows the side rails we made (from Aluminum) to cover the gap
between the body and the frame. The body tucks in just behind it. I
think it turned out pretty well ... after a LOT of sleepless nights trying to
decide just HOW to do it. :-).
More after I get the nose done and the motor installed.
We ran CMP and had motor woes. I checked things over and
found a valve adjustment WAY too tight. I corrected it and hoped that the
valve hadn't gotten burned too badly. After CMP, we went to Barber (see
couple of pics below) and the engine wasn't much better. I later found out
that one of the valve seats was coming apart - that REALLY hurt the power.
Fortunately, it stayed in the head and didn't come completely loose and cause
catastrophic damage!
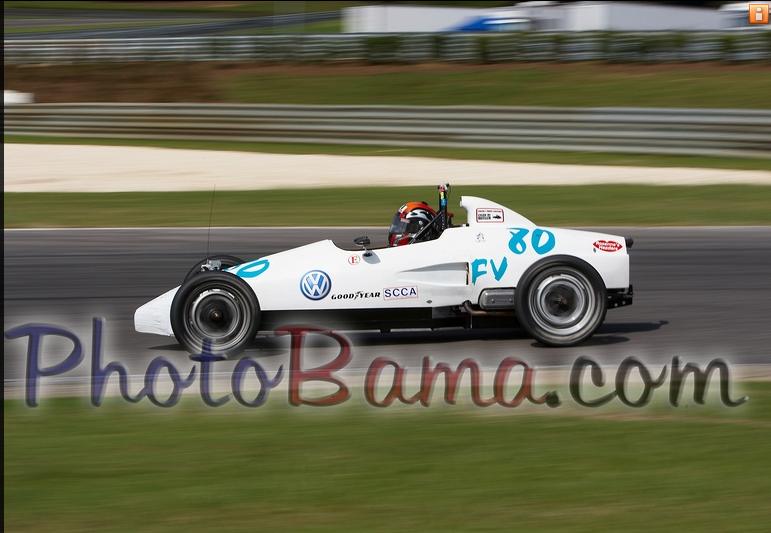
I lifted these pix from the PhotoBama website. Since
I left the watermark on, I hope he won't mind - you can go to PhotoBama.com and
BUY a non-watermarked copy if you like :-).
.jpg) Coming over the hill down into Charlotte's web
Coming over the hill down into Charlotte's web
The nose is taped up from a collision I had on the
previous day. Sure did mess up my new nose, but otherwise the car was
undamaged (thankfully).
After Barber, we set about making the car Runoffs Ready! -
Page 4


.jpg)

.jpg)
.jpg)
.jpg)
.jpg)
.jpg)
.jpg)
.jpg)
.jpg)